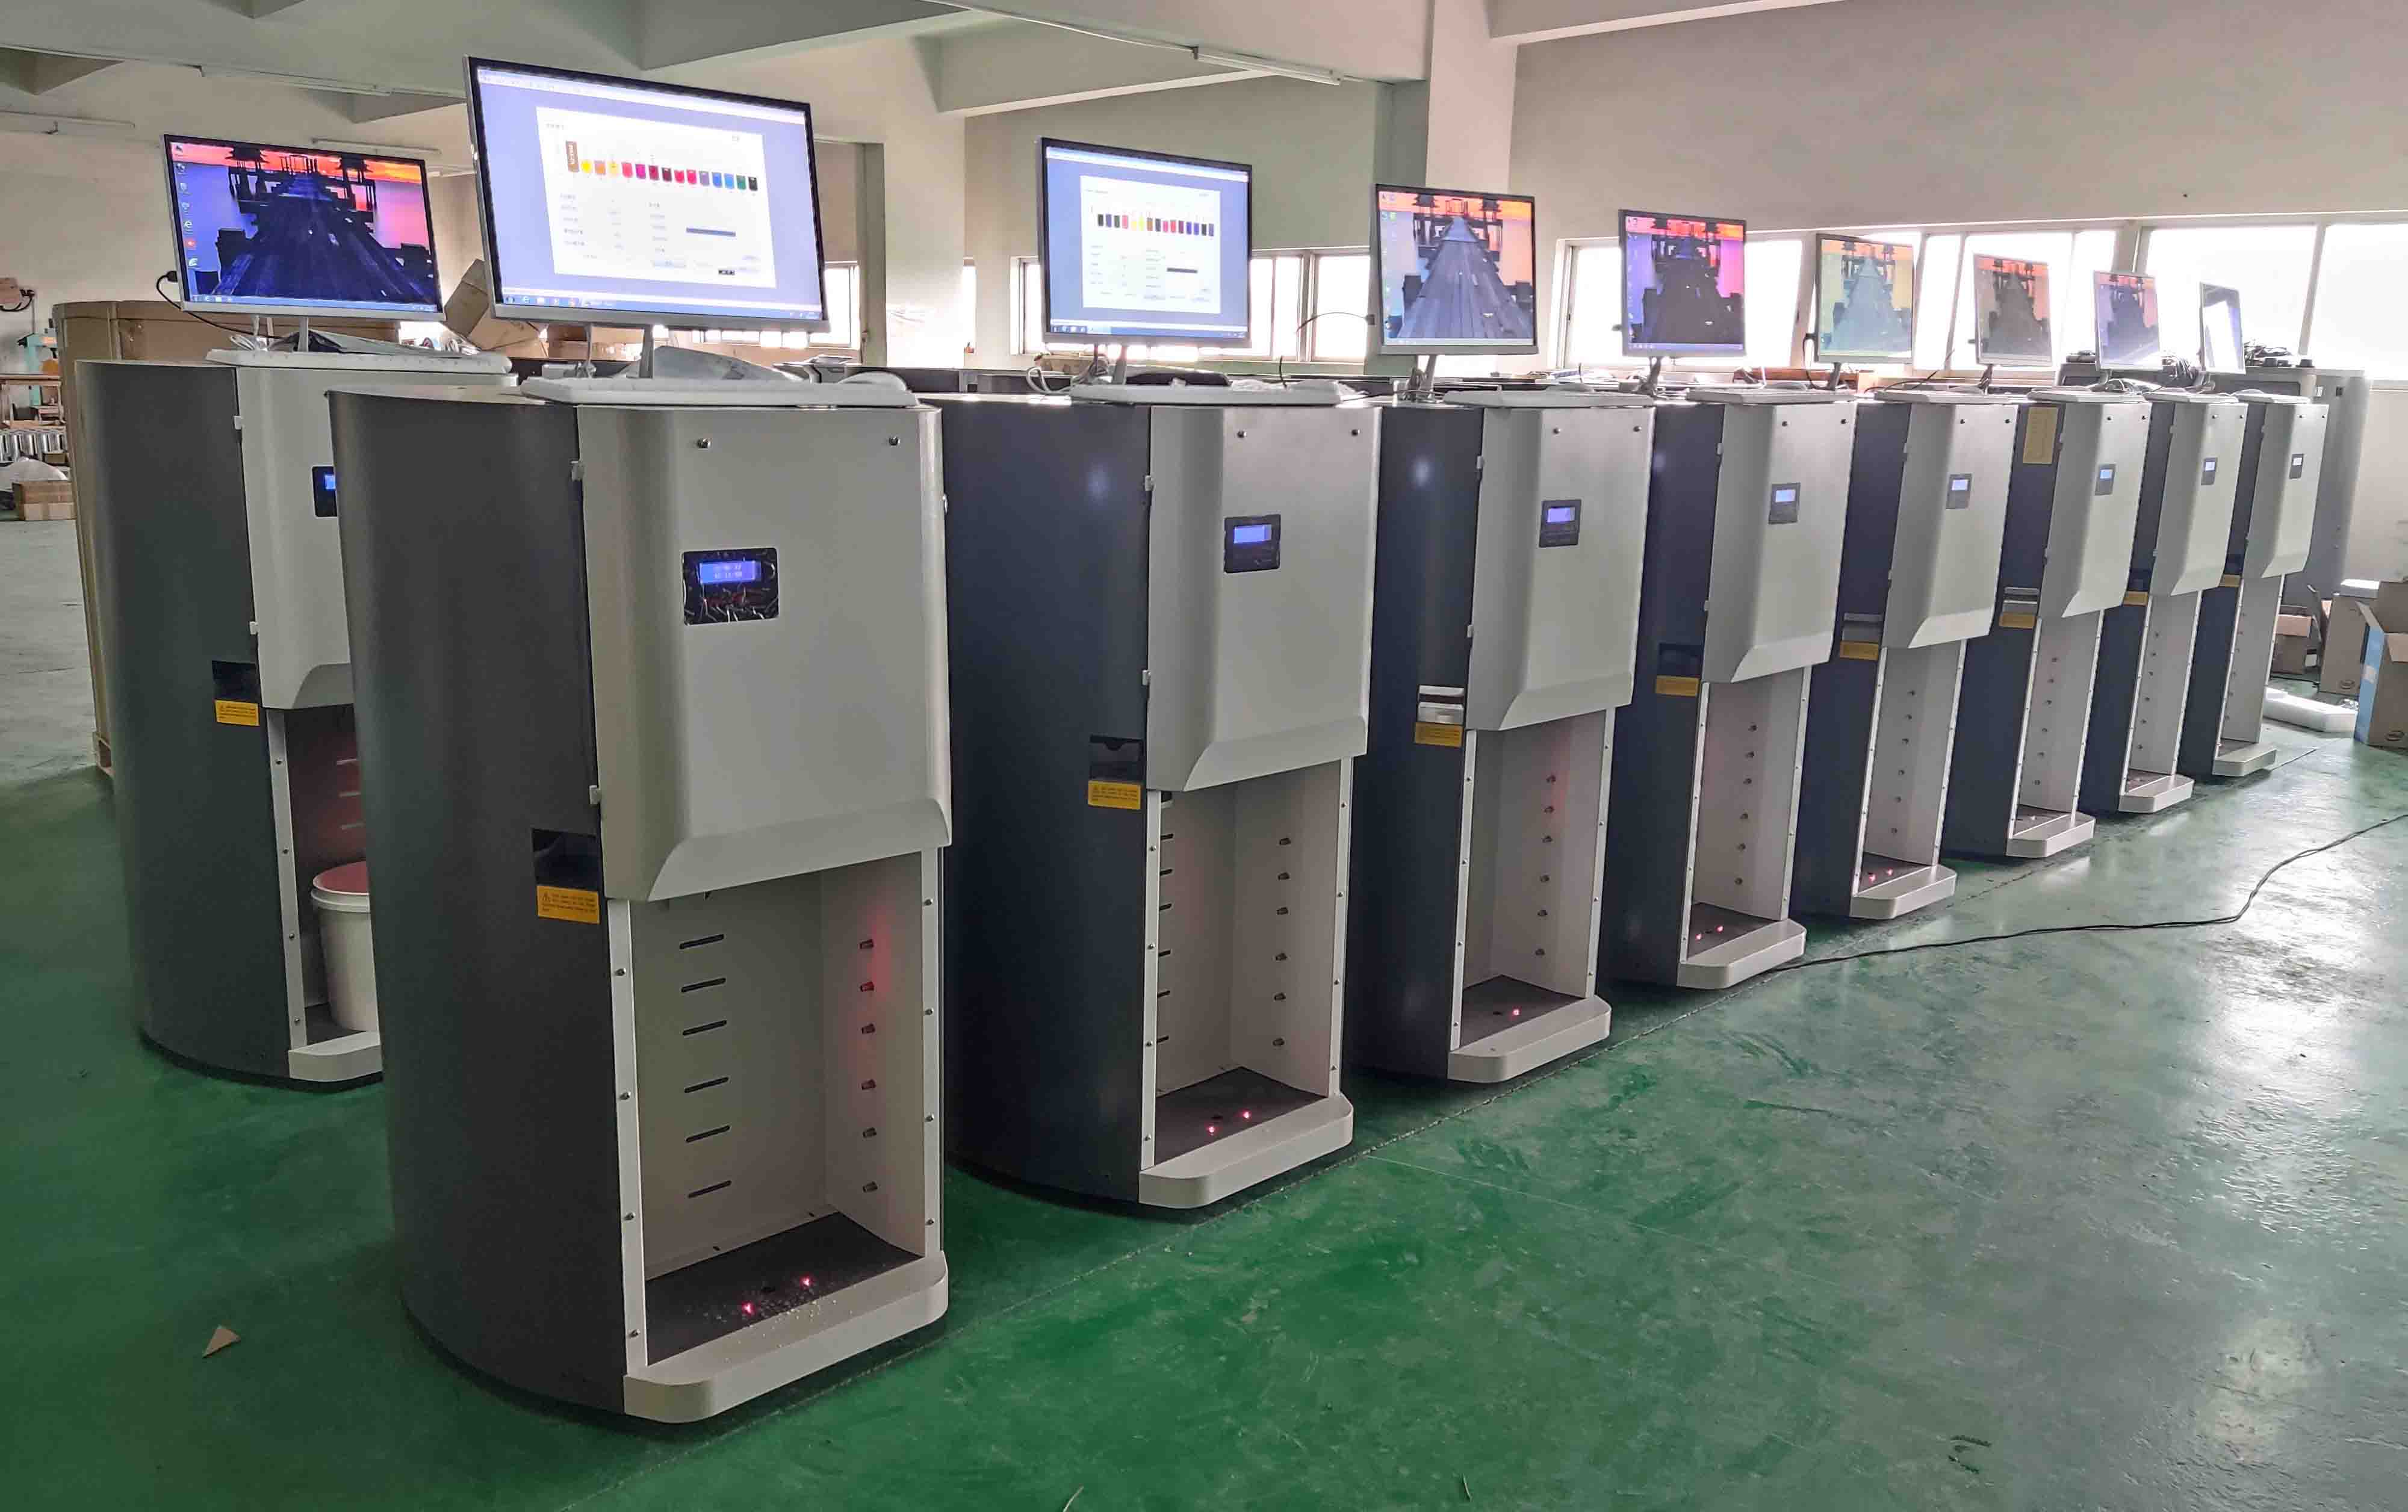
The paint color tinting machine mixes color paste with base paint to produce the desired color, also known as a Colorant Dispenser. Its function is to mix pre-mixed color paste with base paint to produce the desired color of paint. Therefore, this machine is commonly referred to as a Paint Tinter in China. It is used in conjunction with a paint mixing machine, which is used to mix the paint uniformly before use.
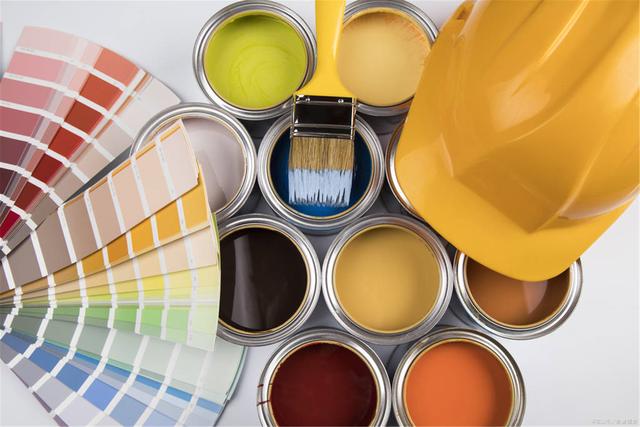
A Paint Tinter is a specialized tool designed to add high-concentration, high-intensity liquid color paste to base paint (typically white or neutral colors) to formulate the desired color precisely.
Core Operating Principles:
Precise Metering: Using precision pumps or control systems, color paste is added in extremely small increments (such as milliliters or even fractions of a milliliter).
Strong Dispersion: During or after pigment paste addition, mechanical stirring (stirring head) evenly and thoroughly disperses the pigment paste into the base paint, breaking up pigment paste agglomerates to ensure uniform and stable color distribution, preventing floating color or blooming.
Color Data Management: Relies on an accurate formula database (color codes correspond to the required quantities of various pigment pastes to be added).
Key Component Overview:
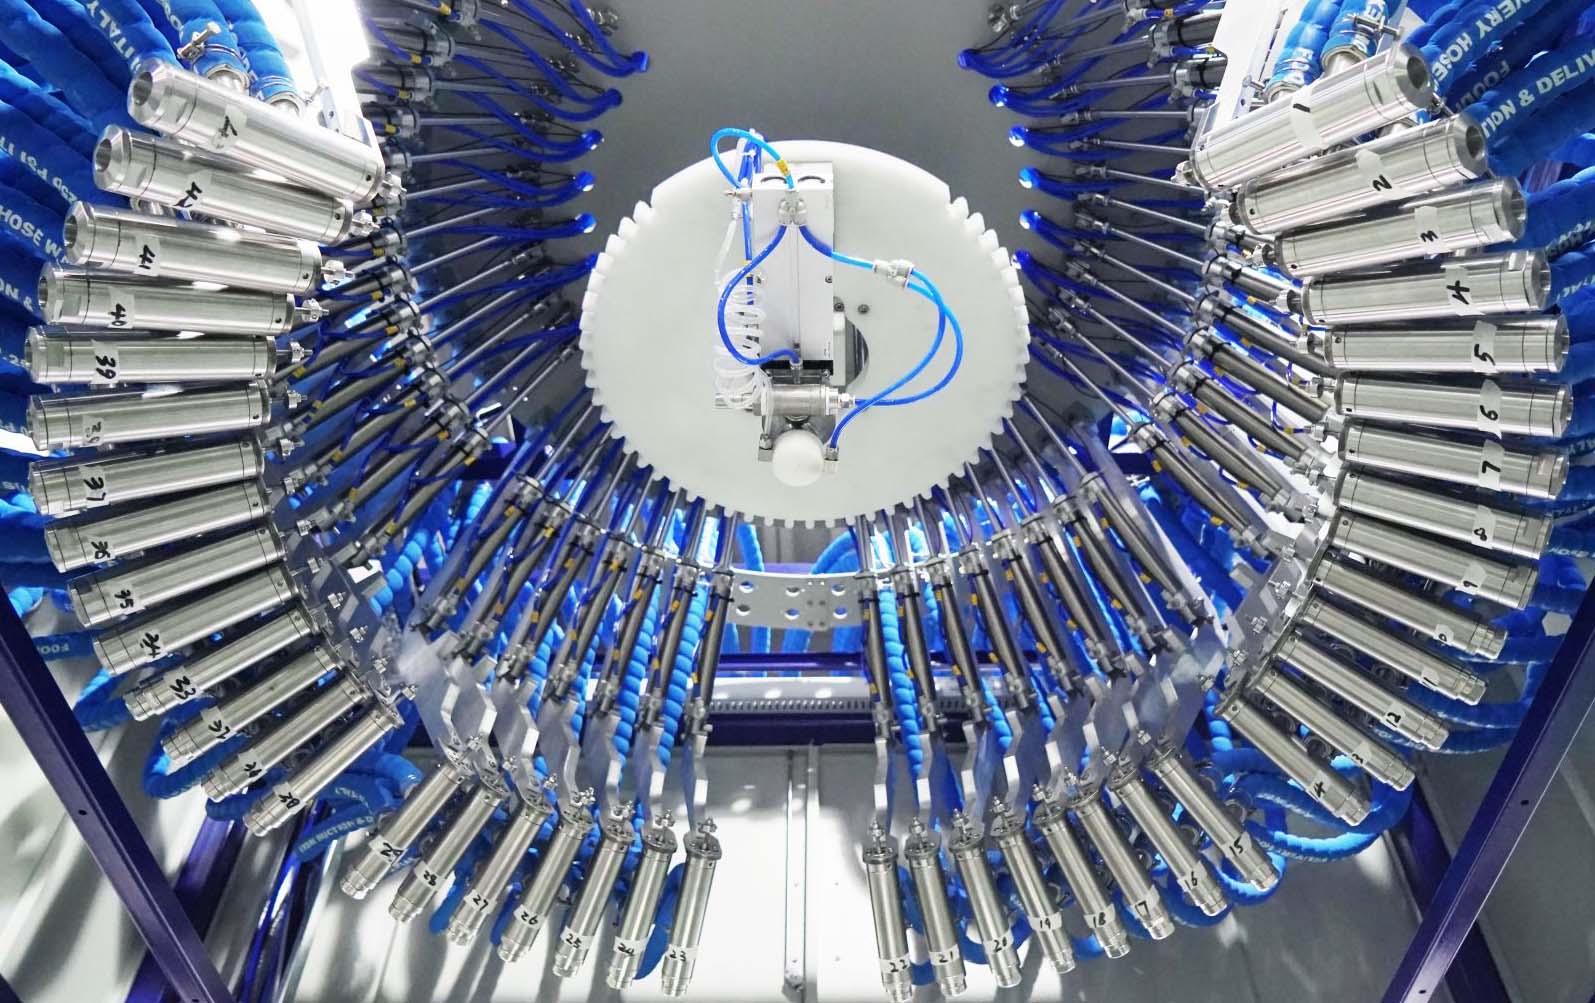
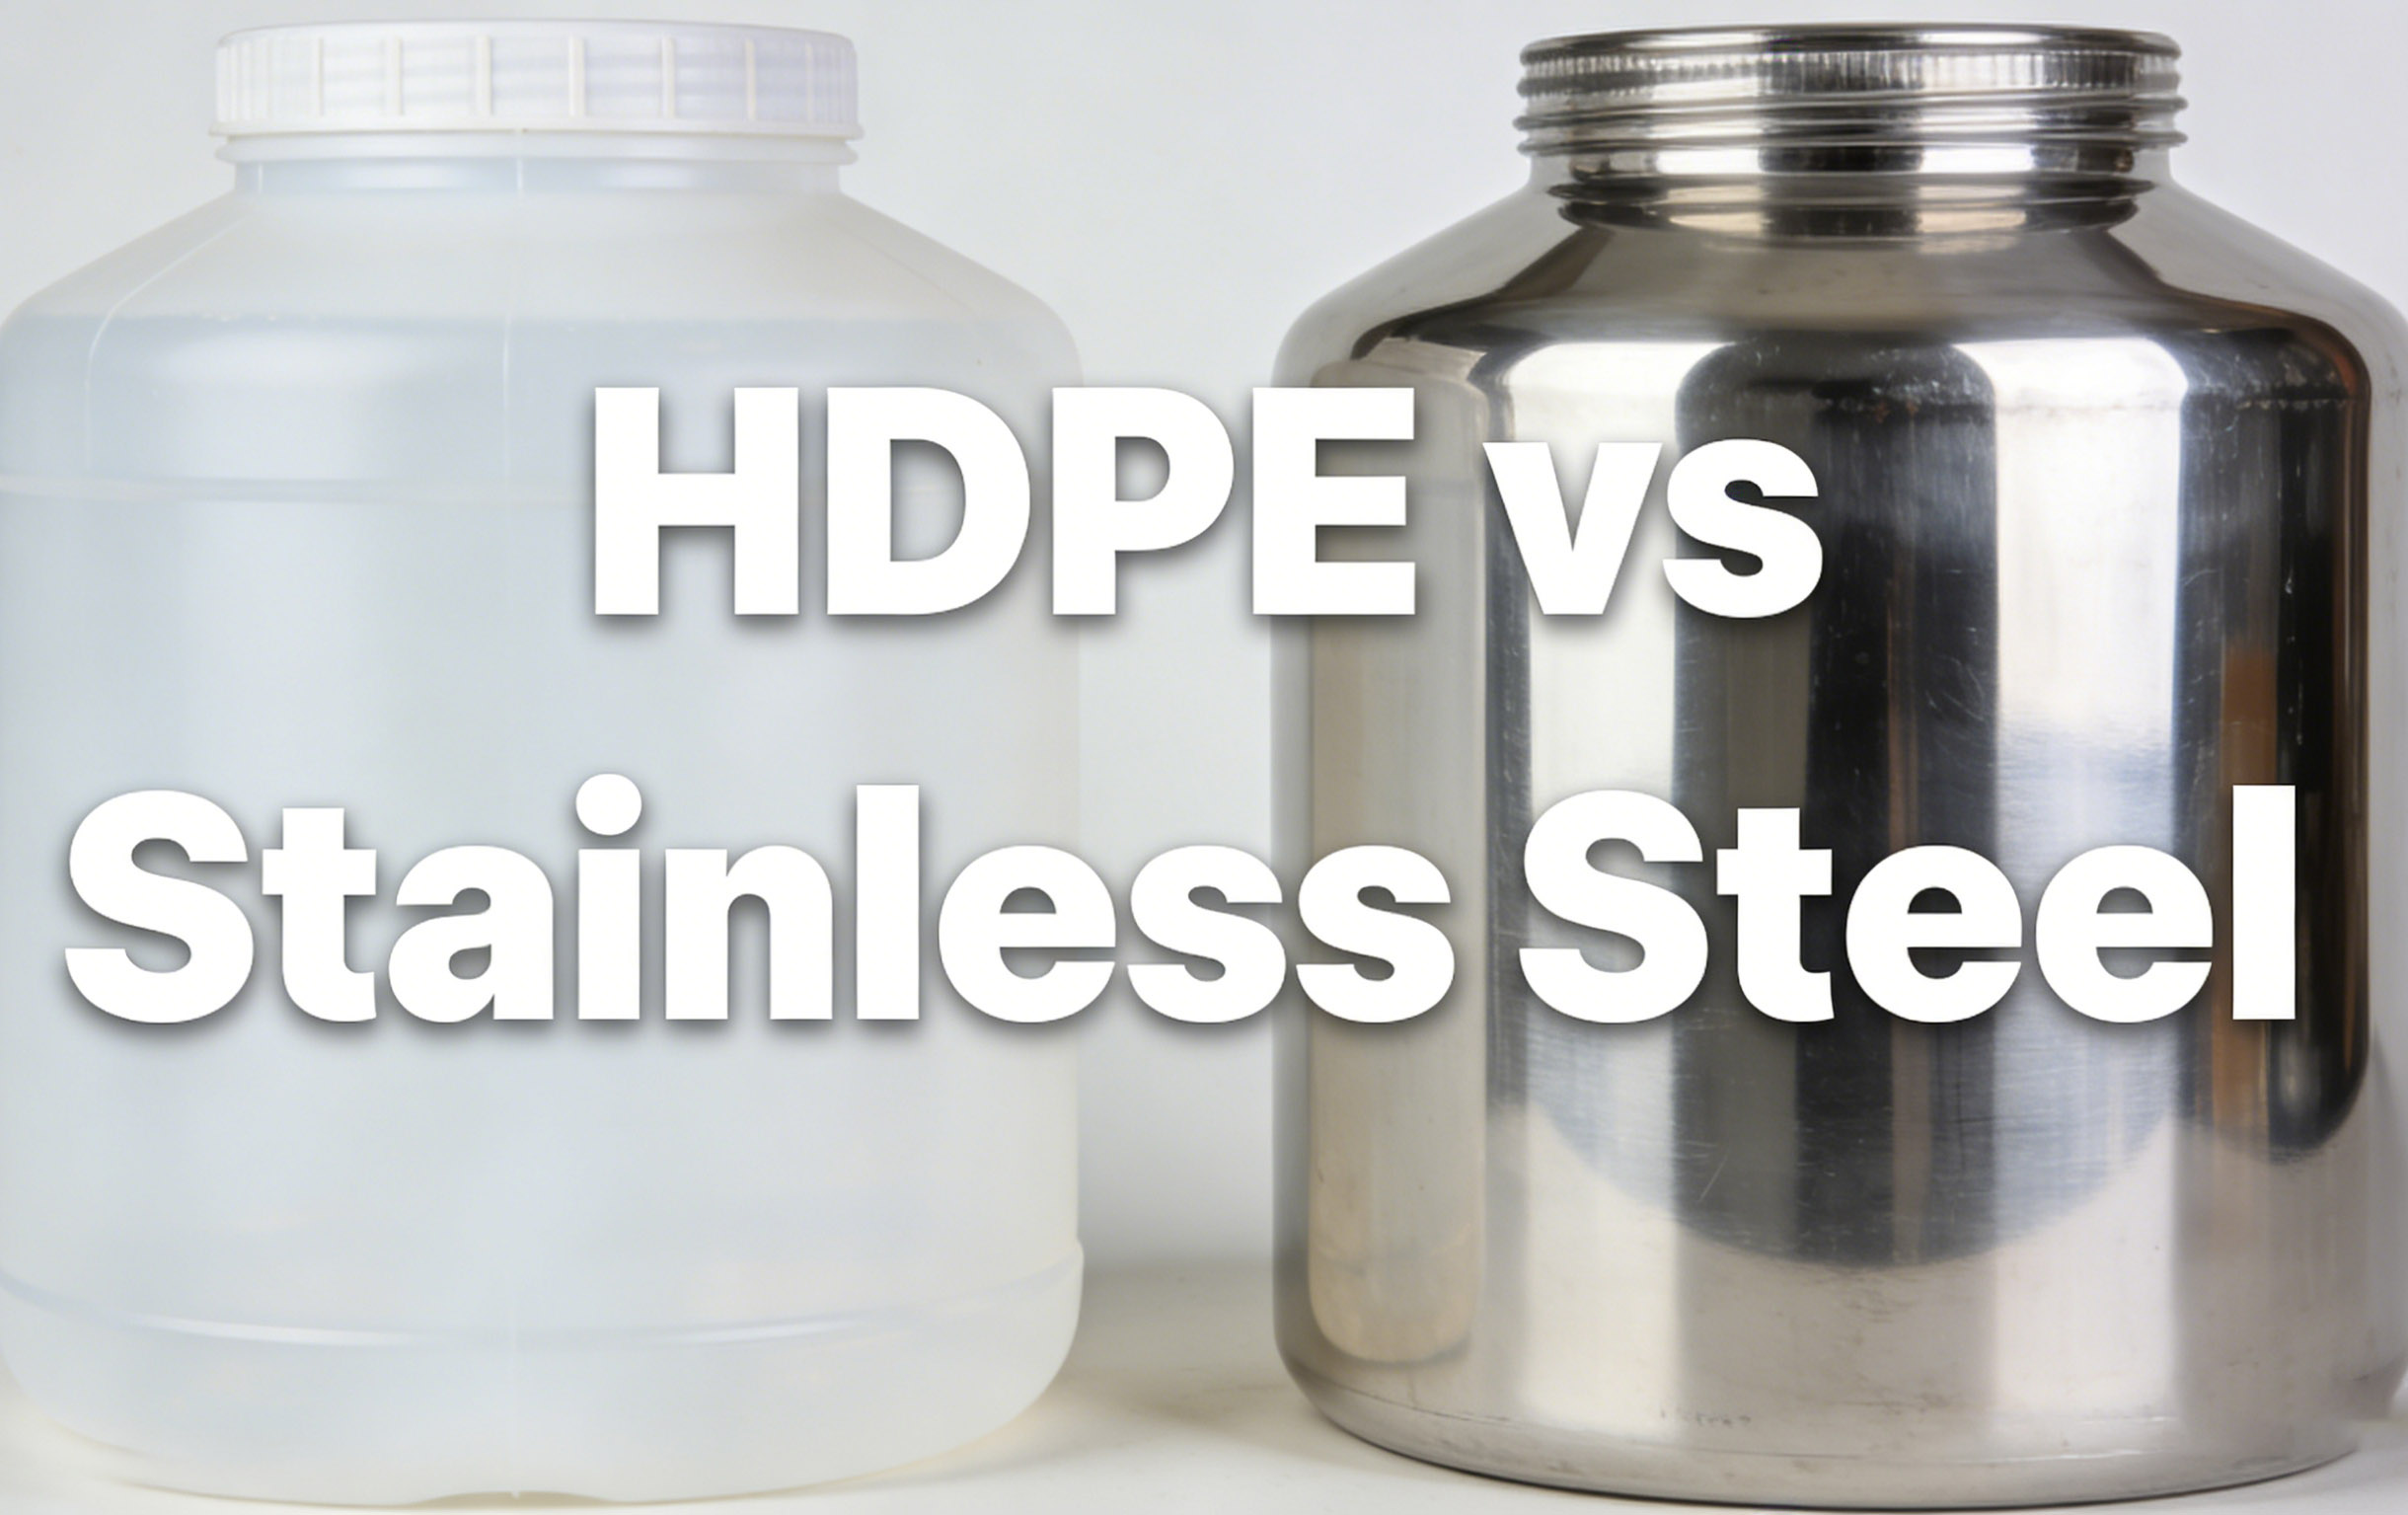
Color paste containers: Containers or bottles for storing color pastes of different colors, typically arranged according to standard color systems.
Distribution system:
Manual pump: Operators manually press the pump head to draw out color paste, economical but precision depends on operator skill.
Semi-automatic/automatic distribution head: Motor-driven piston that automatically dispenses color paste in pre-set quantities after inputting the formula or selecting the color via the control panel, offering high precision and efficiency.
Mixing/Stirring System:
Vibrating Mixer: A device that mixes paint cans using high-frequency vibrations (commonly found in paint stores).
Stirring Head/Stirring Rod: An electric stirrer with propeller blades that is directly inserted into the paint can for mixing.
Control System (Automatic/Semi-Automatic Models): An interface for inputting color codes, controlling dispensing quantities, and managing the formula database.
Paint Tinter Types and Applications:
Manual Paint Tinter:
Features: Simple structure, low cost, fully reliant on manual operation of the pump and stirrer.
Advantages: Low cost, simple maintenance.
Disadvantages: Relatively low precision, slow speed, high technical requirements for operators.
Application scenarios: DIY enthusiasts for small-scale projects, small studios with limited budgets.
Semi-automatic Paint Tinter:
Features: Typically automatically dispenses color paste (via recipe buttons), but requires manual placement of the paint can under the dispensing port and manual activation of the stirrer (or use an independent mixer).
Advantages: High dispensing accuracy, faster than manual operation, lower cost than fully automatic.
Disadvantages: Still requires a significant number of manual steps.
Suitable scenarios: Medium to small-sized paint retailers, professional paint contractor studios.
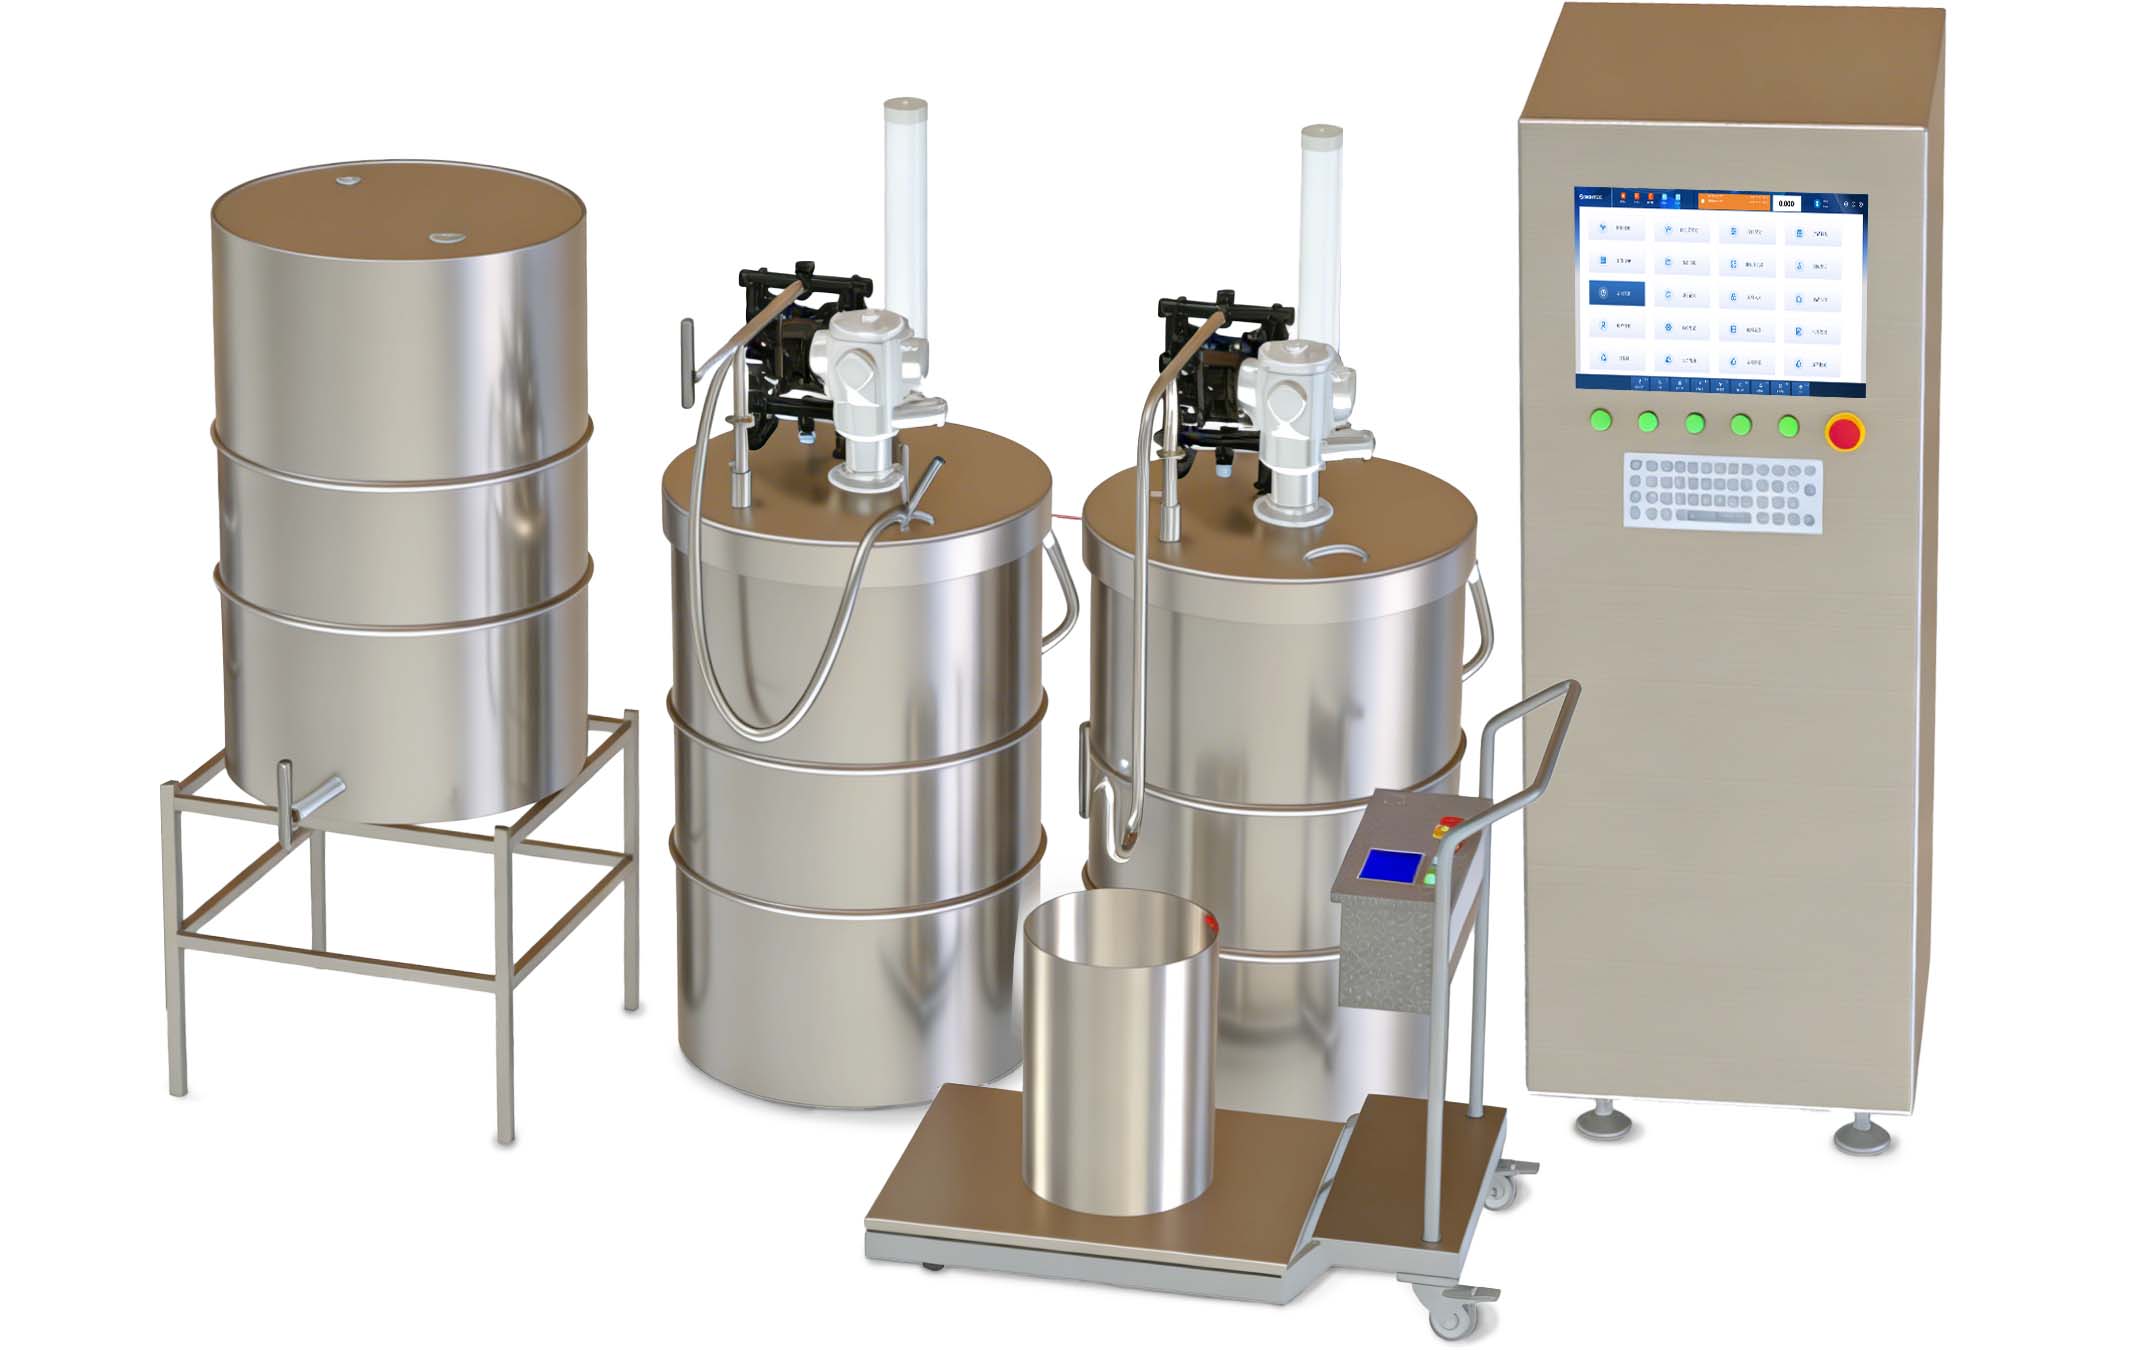
Fully Automatic Paint Tinter:
Features: Highly integrated. Place the base paint can -> input the formula -> Machine automatically positions the dispensing head -> Precisely injects all color pastes -> Automatically seals the can lid and transfers it to the vibrating mixer for mixing -> Completes output.
Advantages: Fastest speed, highest precision, easy operation, low labor requirements, best consistency.
Disadvantages: Expensive, large footprint, relatively complex maintenance.
Suitable scenarios: Large building material supermarkets, large paint retail stores, high-volume professional color matching centers.
Adequate preparation is the foundation of successful color matching:
Work Environment Setup:
Adequate and natural lighting: The ideal condition is north-facing natural light. Avoid color matching and calibration under strong single light sources; it is best to use fluorescent lights with a high color rendering index.
Good ventilation: Color pastes and paints may have odors and volatile substances; ensure proper air circulation.
Clean and organized: Clear the workbench to prevent dust or contaminants from contaminating the paint. Prepare rags, old newspapers, or anti-stain mats.
Safety precautions: Wear appropriate nitrile rubber gloves and safety goggles. Wear a mask as needed. Wear work clothes or old clothing.
Precise tools and materials checklist:
Core: Paint tinting machine and its matching color paste and base paint.
Containers: Clean paint mixing buckets and paint cans for storing the final mixed paint.
Mixing tools: If the paint color-matching machine does not have an integrated mixing or agitation function, prepare an electric mixing rod or manual mixing rod.
Measuring aids:
Precision electronic scale: For color matching by weight or verifying small amounts of color paste added.
Measuring cups/syringes: For precisely measuring small amounts of color paste.
Application tools: Color mixing sticks, scrapers, brushes, or small rollers + color swatch boards.
Cleaning supplies: Appropriate solvents, paper towels, and cloths.
Notebook: For recording formulas, addition quantities, and observation results.
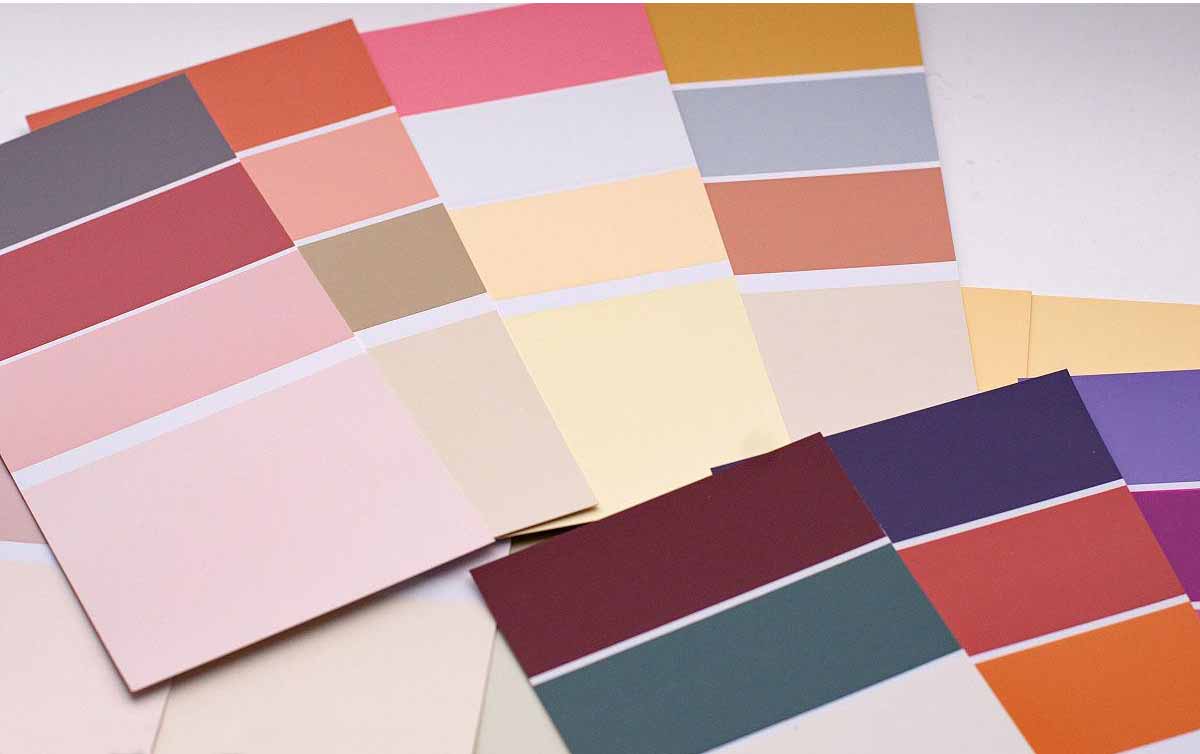
Understanding Color Formulas and Base Coat:
The formula is the essence: Whether sourced from color charts, software, or customer specifications, ensure the formula is precise for the specific brand and series of base coat and color paste you are using. Formulas are not interchangeable between brands, or even between different series of the same brand!
The base coat is the critical carrier:
Type matching: Interior, exterior, wood, primer… must strictly correspond to the base coat type specified in the formula.
Gloss Matching: The gloss level of the base paint (matte, eggshell, satin, semi-gloss, high-gloss) directly affects the final color presentation. Formulas are designed for specific gloss levels.
Whiteness and Concentration: Different base paints have varying “whiteness” and titanium dioxide content, which directly impact coverage and the final color’s saturation and depth. Always use the base paint specified in the formula.
Startup and Calibration:
Warm-up: Start the machine (especially automatic/semi-automatic models) according to the manual and allow it to complete a self-test.
Even the most accurate paint tinter can experience color deviations if colorant residues accumulate inside the dispensing system. Regular cleaning and preventive maintenance help ensure consistent dispensing accuracy and long-term equipment reliability. Learn more in our guide on best practices for cleaning colorant dispensers and tinting machines.
Colorant Check:
Confirm Colorant Inventory: Check that the required colorant canisters are installed and the liquid level is sufficient. This prevents running out of color mid-mixing.
Check Flowability: Observe the colorant for proper flow and any significant sedimentation or lumps (this can be done by gently shaking the canister). If abnormal, treat or replace according to the manufacturer’s instructions.
Calibration Verification (Key Step):
Regular Calibration: Perform calibration procedures as specified in the equipment manual (e.g., daily, weekly, or monthly). This typically involves draining a small amount of colorant to ensure there are no bubbles in the tubing and may test the accuracy of dispensing a specific amount (e.g., 1 ml) (weighing verification).
Test Dispensing: Before formally mixing, test a small amount (e.g., 1 ml) of a critical colorant (especially darker colors and those used in larger quantities) by dispensing it into a measuring cup or paper towel to ensure smooth dispensing without blockage or dripping. Use a digital scale to verify the weight.
Entering the Recipe and Preparing the Base Paint:
Enter Accurately: Enter the complete formula code or number of the target color clearly and accurately on the control panel. Always check carefully! A single-digit error can result in a dramatic color change.
Preparing the Paint Cans:
Cleaning the Can Lid: Before opening the base paint can, wipe the lid clean to prevent dust from falling into the paint.
Pre-mixing Thoroughly: After opening the can, thoroughly stir the base paint with a stirring rod (for at least 3-5 minutes). Sediment (titanium dioxide, fillers) often forms at the bottom of the can. Failure to stir thoroughly can lead to inaccurate color mixing and paint defects.
Place the Can Securely: Securely place the mixed base paint can in the dispensing area of the paint dispenser (make sure the sensor recognizes the can size) or on the shaker mixer tray.
Adding Colorants Accurately:
Starting Dispensing: Press the Start button. The machine will automatically dispense and dispense the required amounts of each colorant according to the recipe sequence. Observe the Process:
Monitor the Injection: Observe each colorant for smooth dispensing and any dripping from the dispenser (a brief pause after completion is normal; continued dripping requires attention).
Note the Sequence: Most recipes require adding the bulk colorant (e.g., white/black/primary color) first, followed by the micro-colorant. The accuracy of the micro-colorant significantly impacts the final color tone.
Completion Indicator: Wait for the machine to finish injecting all colorants and indicate the end of the process.
Ensure Thorough Mixing:
Seal the Can Lid: Immediately secure the can lid to prevent solvent evaporation and contaminants from entering.
Select a Mixing Method:
Oscillating Mixer:
Securely snap the can into the shaker clamp.
Set the mixing time (usually 1-2 minutes, depending on the machine model and the amount of paint).
Start the shaker, and the machine will shake the can at high speed, creating a powerful vortex to mix the paint inside.
Electric Stirring Rod:
Insert the stirring rod vertically into the center of the can, ensuring the paddle is completely submerged.
Start at a low speed to prevent splashing.
Gradually increase the speed to the recommended speed (refer to the stirring rod and paint instructions). Use an “M” or “W” motion to slowly move the stirrer up and down, and left and right, ensuring the bottom, sides, and corners of the jar are all stirred.
Enough stirring time: Stir for at least 3-5 minutes, longer for darker colors or larger amounts of colorant. The goal is absolute uniformity.
Manual stirring (auxiliary/emergency): If equipment is limited, a stirrer can be used for vigorous manual stirring, but this takes longer (and is generally less effective than mechanical mixing). This is only recommended for small-scale color mixing or as a supplement to oscillating/electric stirring.
A paint dispenser isn’t just a cold machine; it’s a magic wand that transforms color theory into real-world creations. From understanding its precise construction and operating principles, to rigorous preparation, standardized operating procedures, scientific verification, and fine-tuning, and finally, avoiding pitfalls and maintaining it, every step embodies professionalism. When you master this device, every precise color match becomes possible.
Whether adding a touch of your dream color to your home or meeting the demanding requirements of a large-scale construction project, accurate color is the cornerstone of quality. Once you master the art of color matching with a paint tinter, color is no longer a limitation, but an infinite extension of your creativity—making every wall the perfect canvas of your imagination.
Data shows that using a professional paint tinter improves color matching accuracy by over 85% compared to manual mixing, improves color matching by 90%, and reduces colorant waste by up to 30%. Precise color matching isn’t just about aesthetics; it also means efficient use of time and resources.