To all beginner friends who have just taken over a semi-automatic filling machine, congratulations on stepping into a crucial link of production! Many people think “as long as the machine works, everything is fine”, but small problems accumulate over time: liquid leakage, unstable measurement, frequent abnormal noises… In fact, most faults stem from the lack of daily semi-automatic filling machine maintenance.
.
This guide not only helps you sort out the core steps of daily maintenance but also provides a directly implementable inspection checklist. The entire text adopts short sentences and scenario-based expressions; following it can significantly extend equipment life and improve operational stability—beginners can also get started quickly and say goodbye to chaos.
I. Core of Daily Maintenance: Is Cleaning, Lubrication, and Fastening Really Enough?
Daily maintenance seems simple, but doing it in the right order and focusing on key points yields completely different results.
In addition to the three essential tasks of “cleaning, lubrication, and fastening”, you also need to develop the habit of “observation – recording – adjustment”. Each maintenance is not only about upkeep but also a “conversation” with the equipment to detect potential problems in time.
II. Daily Must-Dos: Cleaning + Basic Inspection (10-Minute Efficient Process)
Key Mentality: Finish today’s work today, don’t leave hidden dangers overnight.
Thorough Internal and External Cleaning
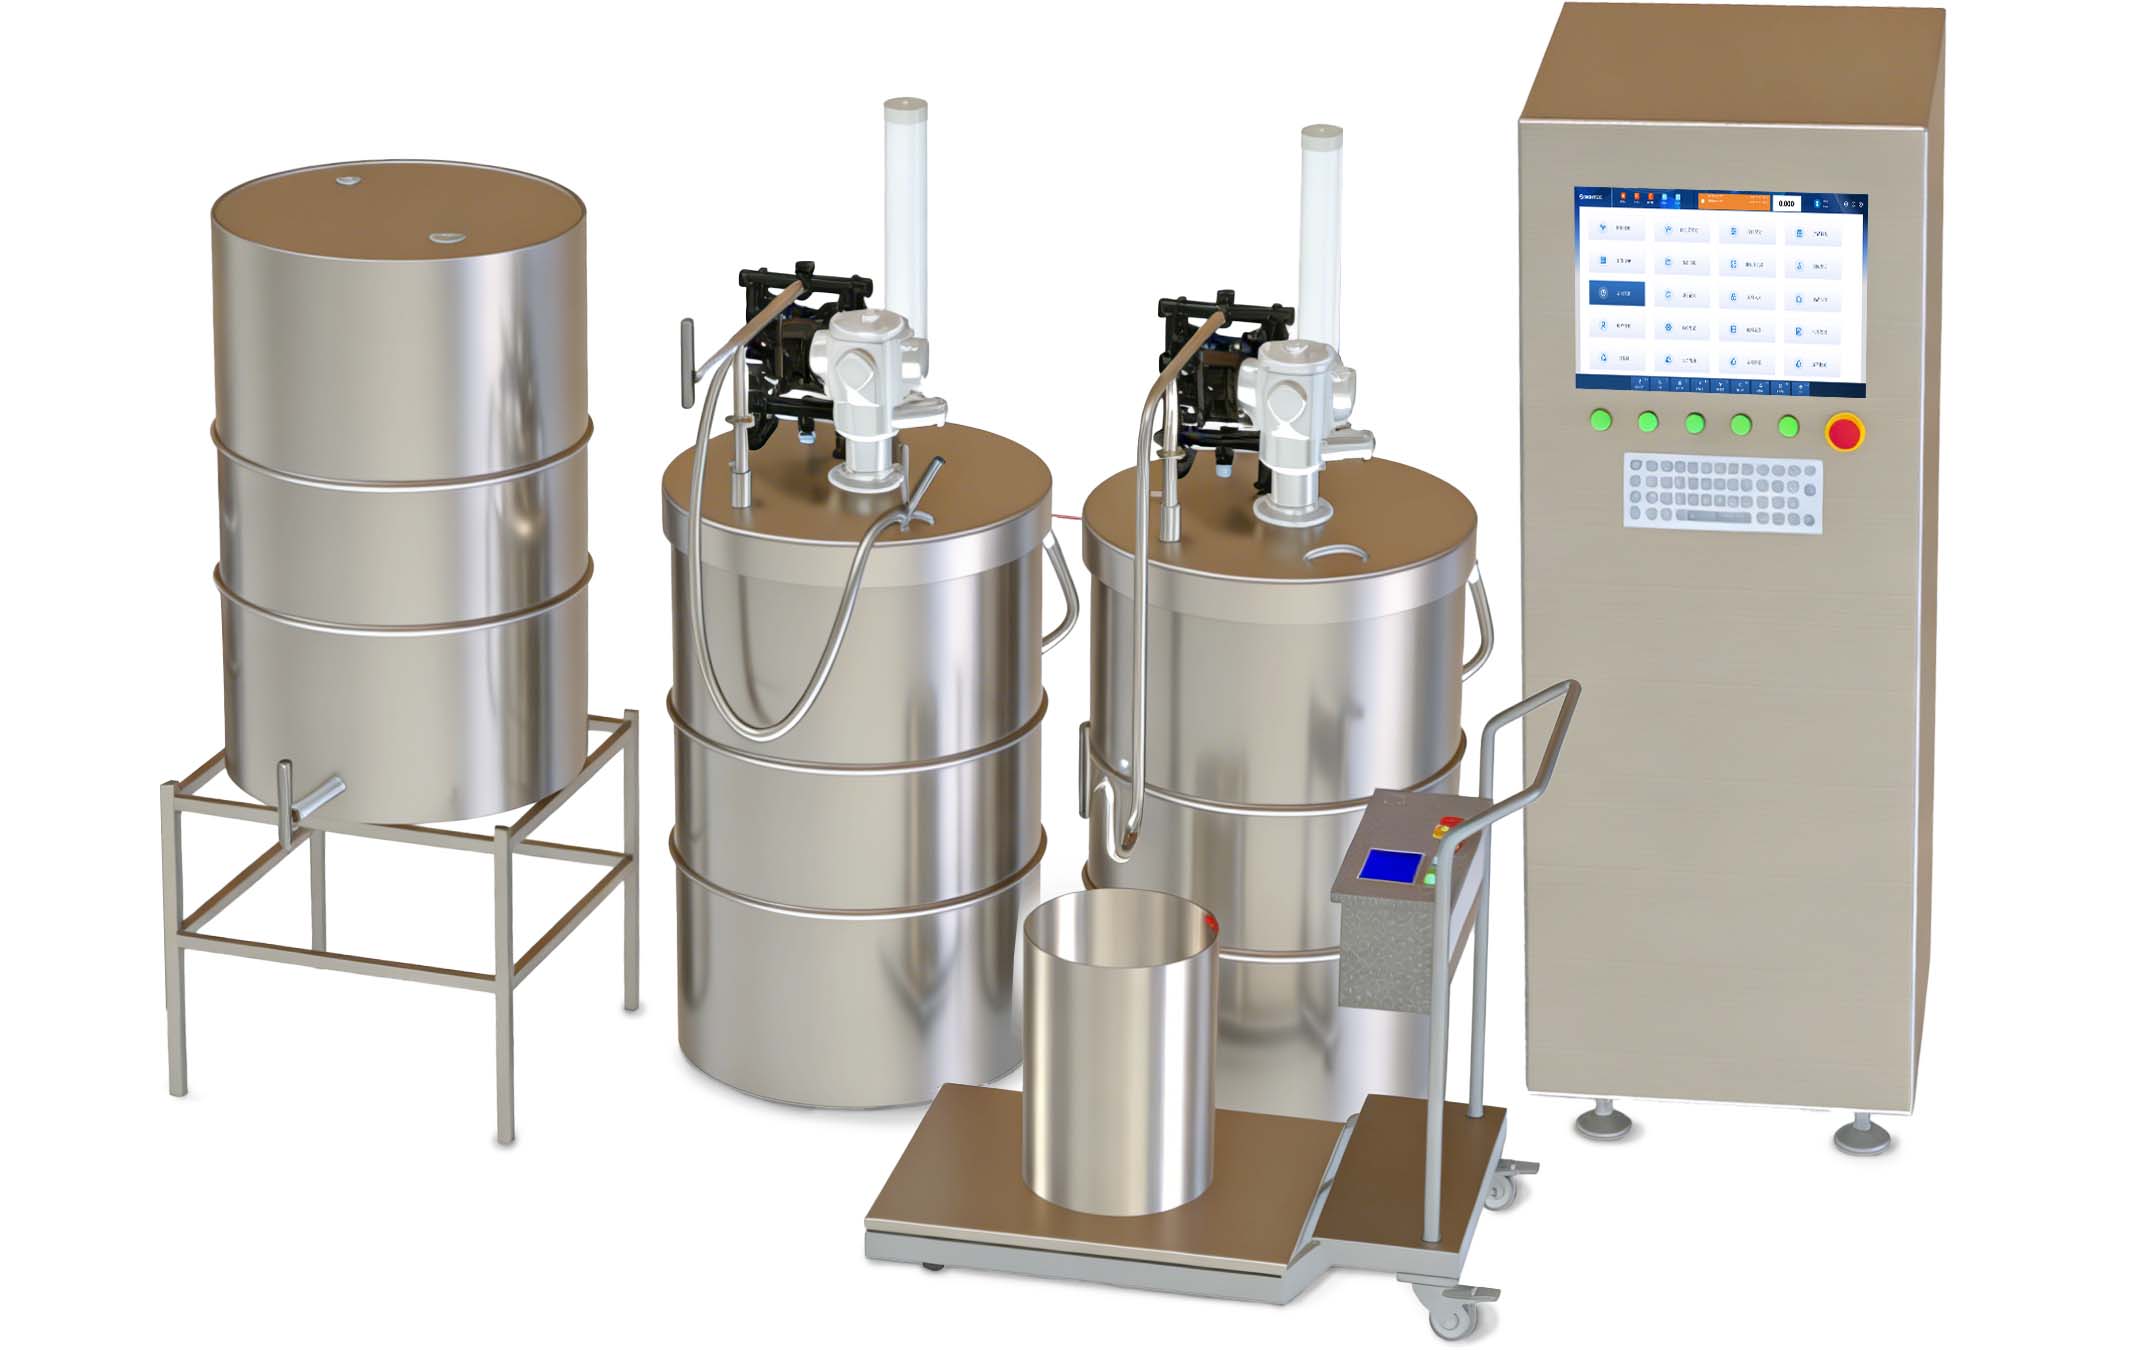
Surface Cleaning: Wipe the machine body with a slightly damp soft cloth to avoid liquid seeping into electrical circuits or transmission parts. If filling easily adherent materials such as sauces or pastes, you can wipe with a small amount of food-grade cleaning agent.
Pipeline Flushing: Especially after filling viscous materials, the feed pipe and discharge valve must be disassembled, flushed cyclically with warm water or specified solvent, and the residual water in the pipe must be blown dry with an air gun to prevent microbial growth or crystal blockage.
Precise Cleaning of Discharge Port
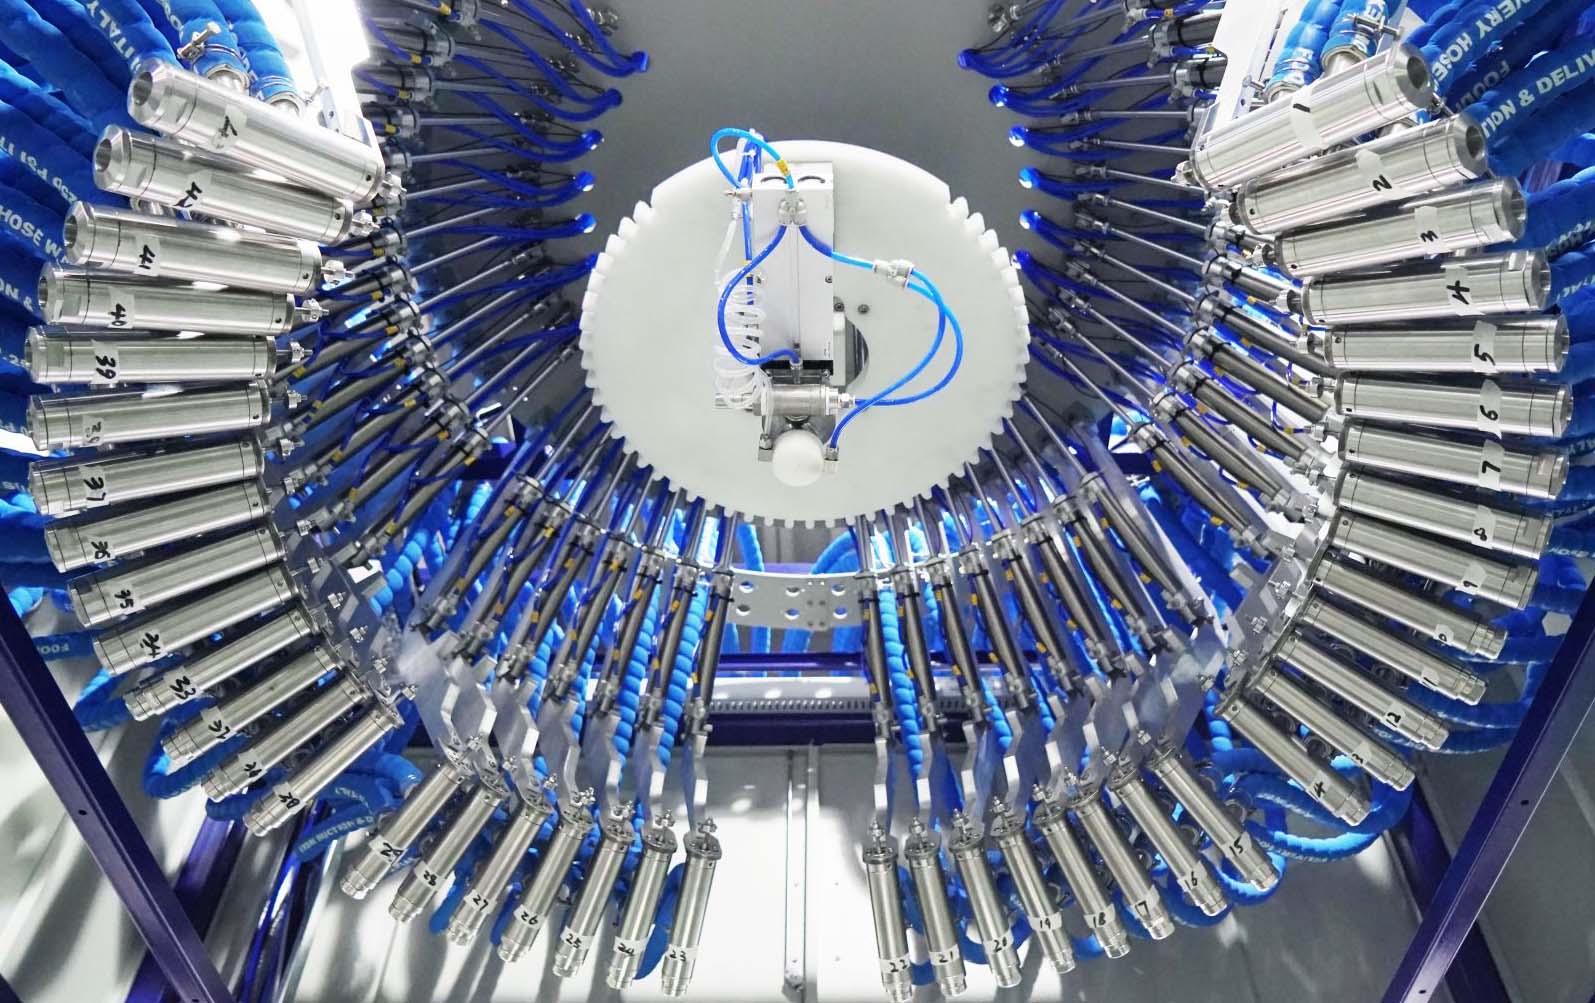
Use a slender cotton swab or soft brush to gently clean the inner and outer walls of the filling nozzle to avoid residue drying and affecting the next filling accuracy and hygiene.
Quick Electrical Safety Confirmation
Check if the power cord is twisted or damaged, and if the plug is firm without looseness. It is recommended to use a socket with overload protection and develop the habit of unplugging after shutdown.
Additional Suggestion: Test Run
After cleaning, run the machine idly for 2~3 cycles, listen for smooth sound, and observe if all parts move smoothly. If there is any abnormality, stop the machine immediately for troubleshooting.
Beginner’s Tip: Stick a “Daily Cleaning Confirmation Form” next to the machine, and check one item off after completion to prevent omissions.
III. Weekly Must-Dos: Lubrication + Sealing System Inspection (30-Minute In-Depth Maintenance)
Key Mentality: Prevention is better than repair; give the equipment a “mini physical examination”.
Lubrication Is Not the More the Better
Find the lubrication points according to the manual (common parts: cylinder rod, guide rail, bearing) and use the specified type of lubricating oil. Remember “less application, more frequent times”: apply with an oil brush or syringe to form a thin oil film.
Original Tip: After lubrication, manually pull the parts several times to distribute the oil film evenly and avoid local dry friction.
Comprehensive Inspection of Sealing System
Key Inspections: Filling valve seal ring, cylinder piston seal, pipeline joint O-ring. Use a flashlight to check for cracks, deformation, or indentations.
Trick: Lightly apply a layer of grease (meeting hygiene standards) on the surface of the seal ring, which can not only extend the service life but also enhance the sealing effect.
Fasten All Visible Screws
Fasten gently with appropriate tools in the order from inside to outside and top to bottom. Pay special attention to the motor base, barrel bracket, and conveyor belt fixing screws.
You can apply a marking line on the screws, so you can tell at a glance if they are loose during the next inspection.
IV. Monthly Must-Dos: Comprehensive Calibration + System Inspection (1-Hour Comprehensive Check)
Key Mentality: Don’t let small errors become big problems; restore the equipment to its best condition.
Practical Steps for Filling Volume Calibration
Prepare a standard measuring cup or electronic scale, fill continuously 10 times, record the data, and calculate the average error. If it exceeds the allowable range, enter the parameter adjustment mode according to the manual and fine-tune the stroke or time parameters.
Original Suggestion: Test once in different pressure environments (e.g., morning, noon, evening) to understand the law of environmental impact on accuracy.
Pneumatic/Hydraulic System Diagnosis
Pneumatic Type: Check if the air pressure is stable at the set value (common 0.4~0.6 MPa) and if there is air leakage in the air pipe (detect with soapy water).
Hydraulic Type: Observe if the hydraulic oil is clean, if the oil level is normal, and if there is oil seepage at the oil pipe joints.
Safety Devices Must Be Actually Tested
Don’t just look at the appearance; actually trigger and test: whether the emergency stop button cuts off the power immediately, and whether the machine stops when the safety door is opened. This is crucial for protecting life and equipment!
Additional: Motor and Transmission Inspection
Listen if the motor runs with uniform sound and touch if the motor housing temperature is abnormal. Check the tightness of the belt or chain and adjust in a timely manner.
V. Maintenance Focus Varies Greatly with Different Materials
|
Material Type
|
Maintenance Focus
|
Special Notes
|
|
Liquid
|
Corrosion Prevention, Scale Prevention
|
Descale with citric acid solution monthly; PTFE seals are required for corrosive liquids.
|
|
Viscous/Paste
|
Residue Prevention, Drying Prevention
|
Flush the pipeline with edible oil or special cleaning agent before each shutdown; check the wear of piston and cylinder weekly.
|
|
Powder
|
Dust Accumulation Prevention, Static Electricity Prevention
|
Clean dust on the circuit board and sensor surface with an air gun daily; regularly check that the grounding resistance is <4Ω.
|
VI. Four Major Misunderstandings Beginners Are Prone to Step Into
Over-Lubrication → Oil contamination of materials, adsorption of dust to form abrasives.
Improper Solvent Use → Cleaning food equipment with non-food-grade solvents, leading to contamination from residues.
Maintenance with Power On → Operating without power off and pressure relief is extremely likely to cause accidents.
Making Do with Seal Rings → Continuing to use slightly deformed seal rings, resulting in slow leakage and inaccurate measurement.
Remember the Principle: Safety first, standardization second, effect third.
VII. What Should Be in Your Maintenance Toolbox?
Basic Tools: Screwdriver set, hex key set, small adjustable wrench.
Cleaning Supplies: Food-grade soft cloth, soft brushes of different sizes, air gun, food-grade cleaning agent.
Lubrication and Sealing: Manufacturer-specified lubricating oil, food-grade grease, common specifications of seal rings/O-rings (stock up).
Measurement and Recording: Electronic scale/measuring cup, inspection checklist notebook, marker pen.
Suggestion: Set up a “maintenance corner” where all tools are placed in fixed positions for easy access and inventory.
VIII. Inspection Checklist (Directly Printable for Use)
Daily Inspection Checklist
Machine surface is clean with no material residue
Pipelines are flushed clean with no retention inside
Filling head is free of blockage and attachments inside and out
Power cord is intact and grounding is reliable
Idle test run for 2~3 cycles with no abnormal noise and smooth movement
Weekly Inspection Checklist
All lubrication points are oiled with no oil spillage
All seal rings are intact with no damage or deformation
Key screws are fastened and marking lines have no displacement
No leakage in air circuit/oil circuit, and pressure gauge reading is normal
All buttons and knobs on the control panel are responsive
Monthly Inspection Checklist
Filling volume is calibrated with error within ±1%
Air pressure gauge/hydraulic gauge is calibrated accurately
Emergency stop button and safety door protection functions are effective
Motor temperature rise and noise are normal
The entire machine is cleaned and disinfected (for food/cosmetics industry)
Fill out the monthly maintenance report and file for future reference
IX. Final Words: Maintenance Is a Habit, and More Importantly, Productivity
10 minutes a day, half an hour a week, one hour a month—this time is not a cost but an investment. Adhering to standardized maintenance can not only extend the equipment life by 2~3 years but also reduce sudden shutdowns, stabilize product quality, and lower long-term maintenance costs.
A real expert is not someone who can repair machines, but someone who makes machines not need major repairs.
If you need a printable electronic version of the inspection checklist in this article, or a personalized maintenance plan for the materials you are filling (such as chemical liquids, high-end cosmetics, sauces, etc.), please leave a comment “Maintenance Checklist” in the comment section, and I will send it to you as soon as possible.