For any paint, ink, or texture coating manufacturer, bringing in a new filling machine is far more than a simple equipment purchase. It’s a critical investment that impacts your production efficiency, product quality, and cost control for the next 3-5 years.
Do these challenges sound familiar?
Your new filling machine lacks accuracy, leading to consistent overfilling that wastes tens of thousands in pigments and resins every year?
The equipment clogs constantly with high-viscosity fillers or gritty texture coatings, and cleaning consumes half of your production time?
Slow service response means a simple seal failure shuts down your entire line for three days, costing you a major order?
Over 90% of these problems stem from issues buried early in the acquisition process. This guide provides a specialized roadmap for introducing a pail filling machine in our industry. By following these 10 key steps, you will minimize risks and ensure a clear return on your investment.
Common Mistake: Focusing only on the total price and neglecting the detailed Technical Agreement.
Your Action Plan (Specialized for Paints/Inks):
1.Define Your Materials Clearly:
List all materials your industrial filling machine must handle. Specify:
Viscosity Range: “Must stably fill water-based latex paints from 500 – 15,000 cP and solvent-based industrial paints up to 50,000 cP.”
Abrasiveness: “State the machine’s capability for sandy texture coatings and specify wear-protection measures for components.”
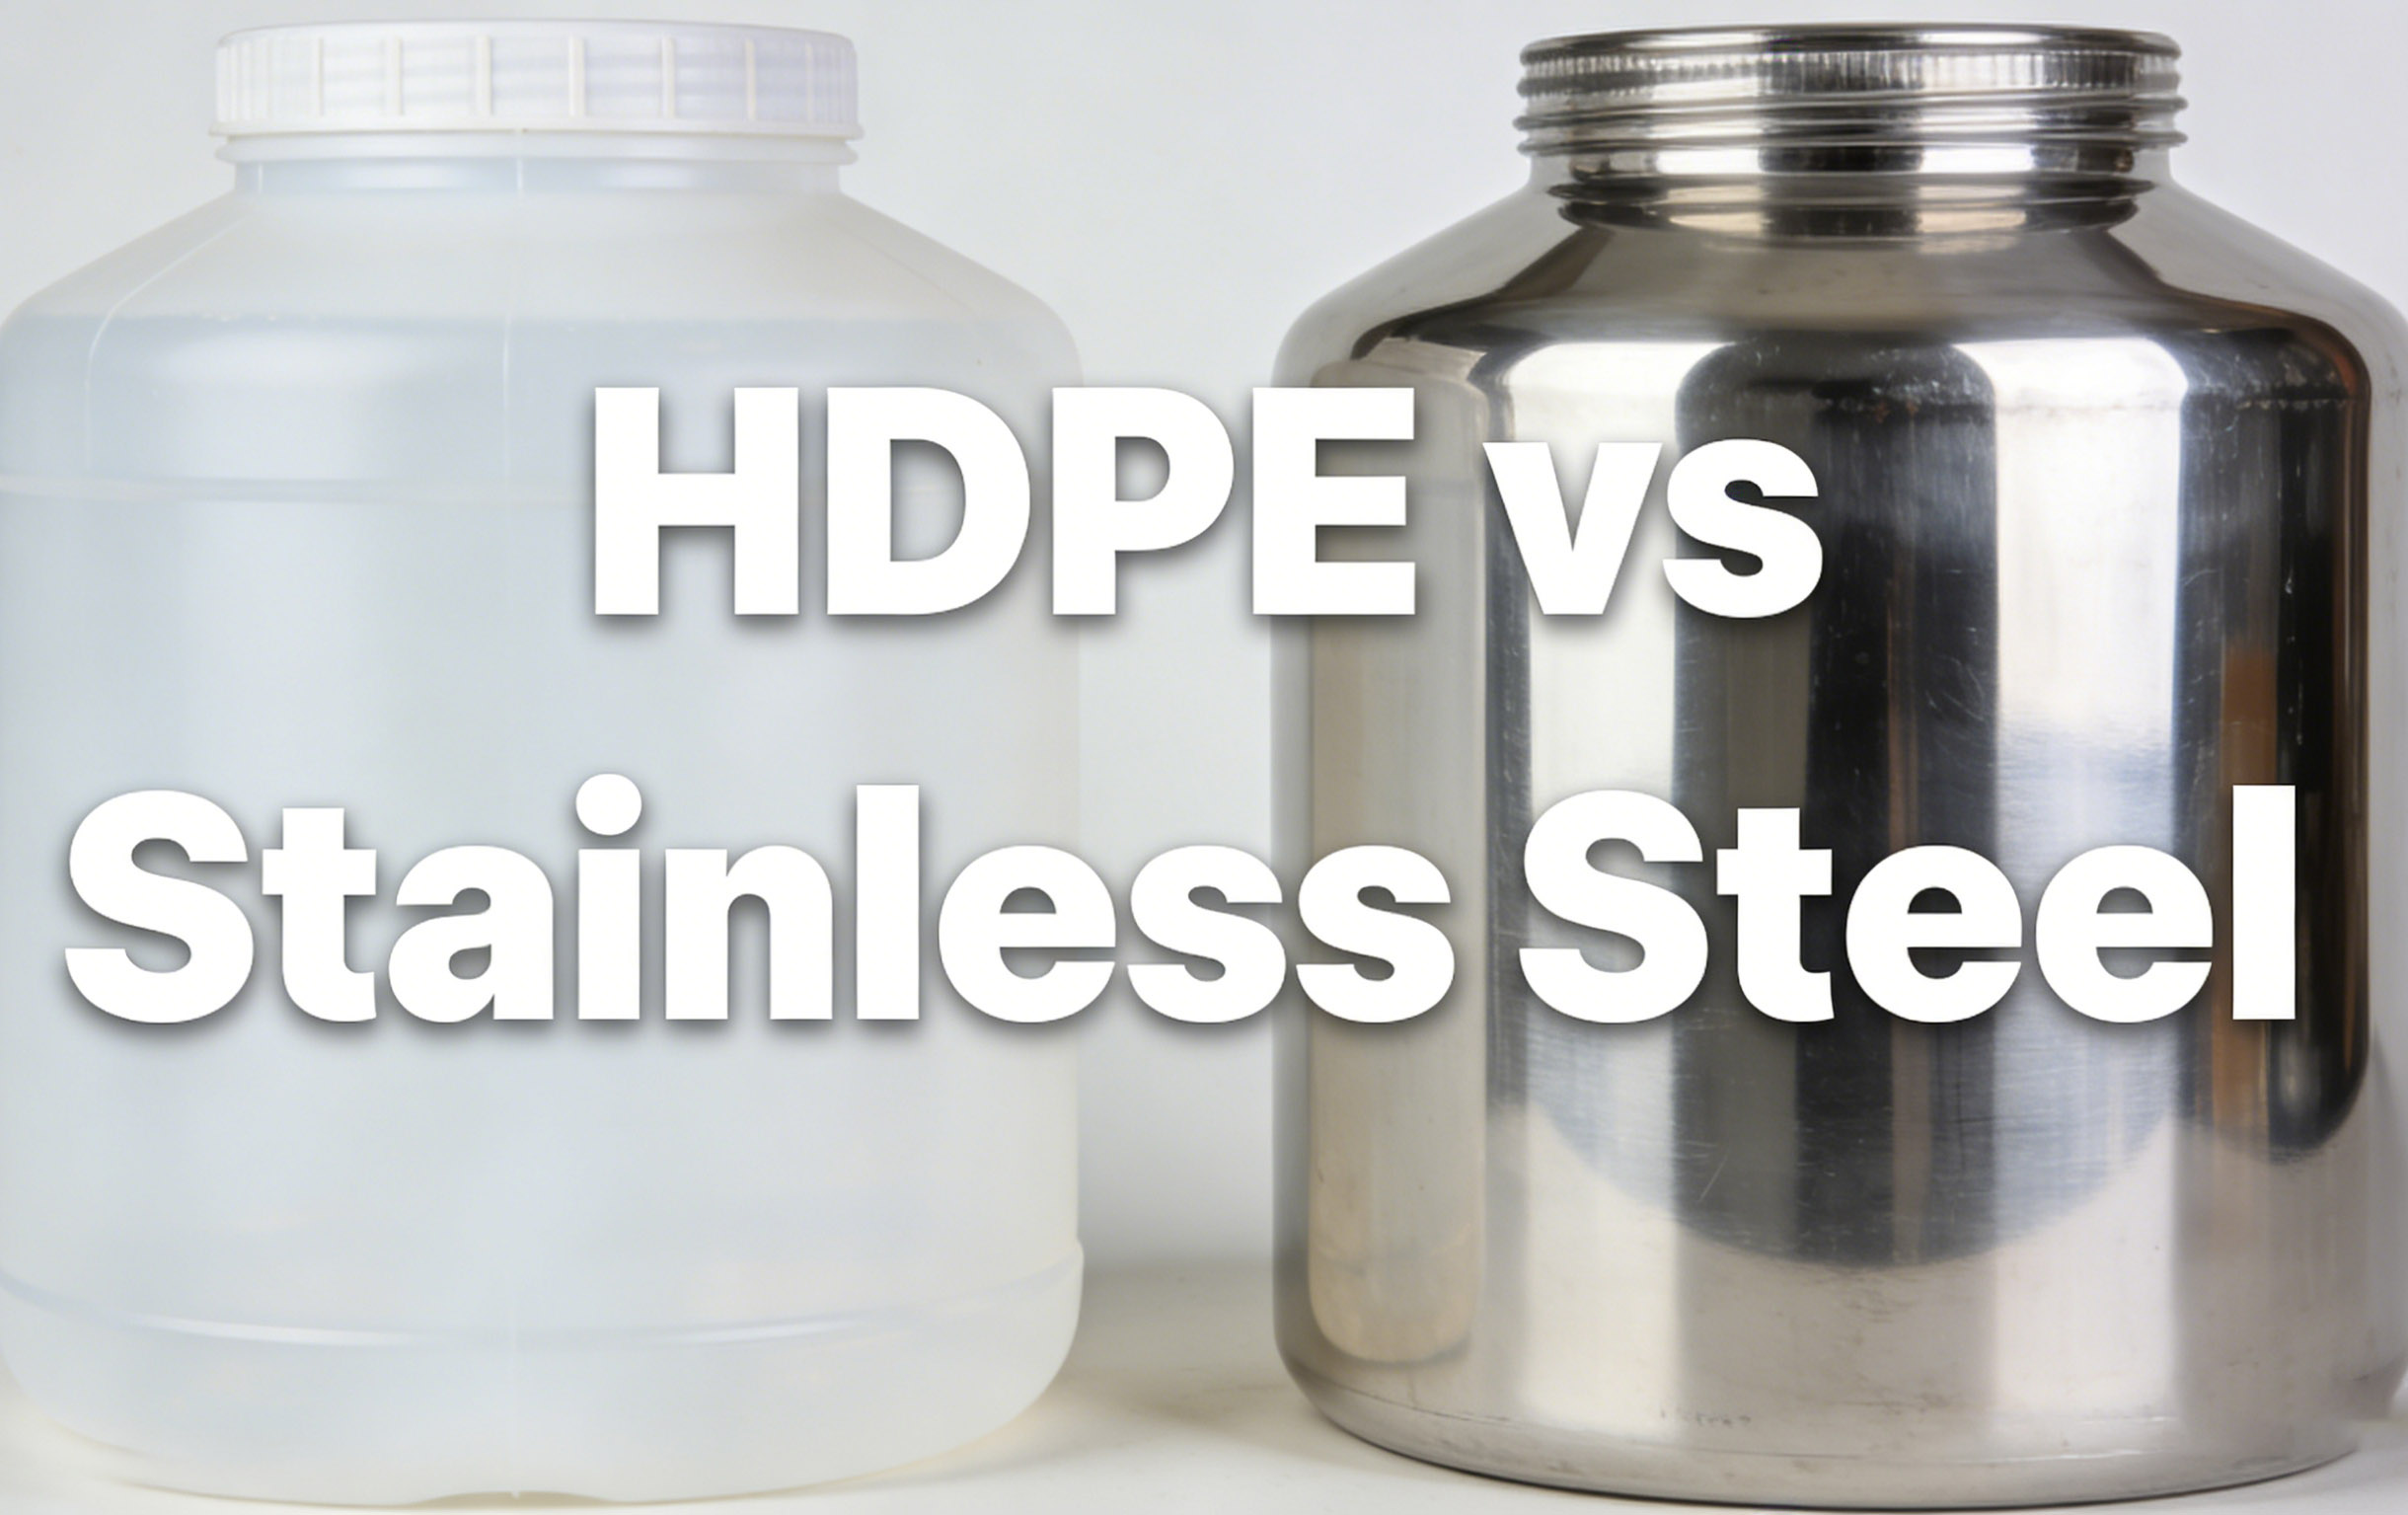
Corrosiveness: “All wetted parts must use 316L stainless steel or superior materials to resist solvent corrosion.”
2.Set Performance Test Conditions:
Demand that promised accuracy (e.g., ±0.5g) and speed (e.g., 30 pails/min) are tied to specific test conditions (e.g., material viscosity, temperature). This prevents future disputes.
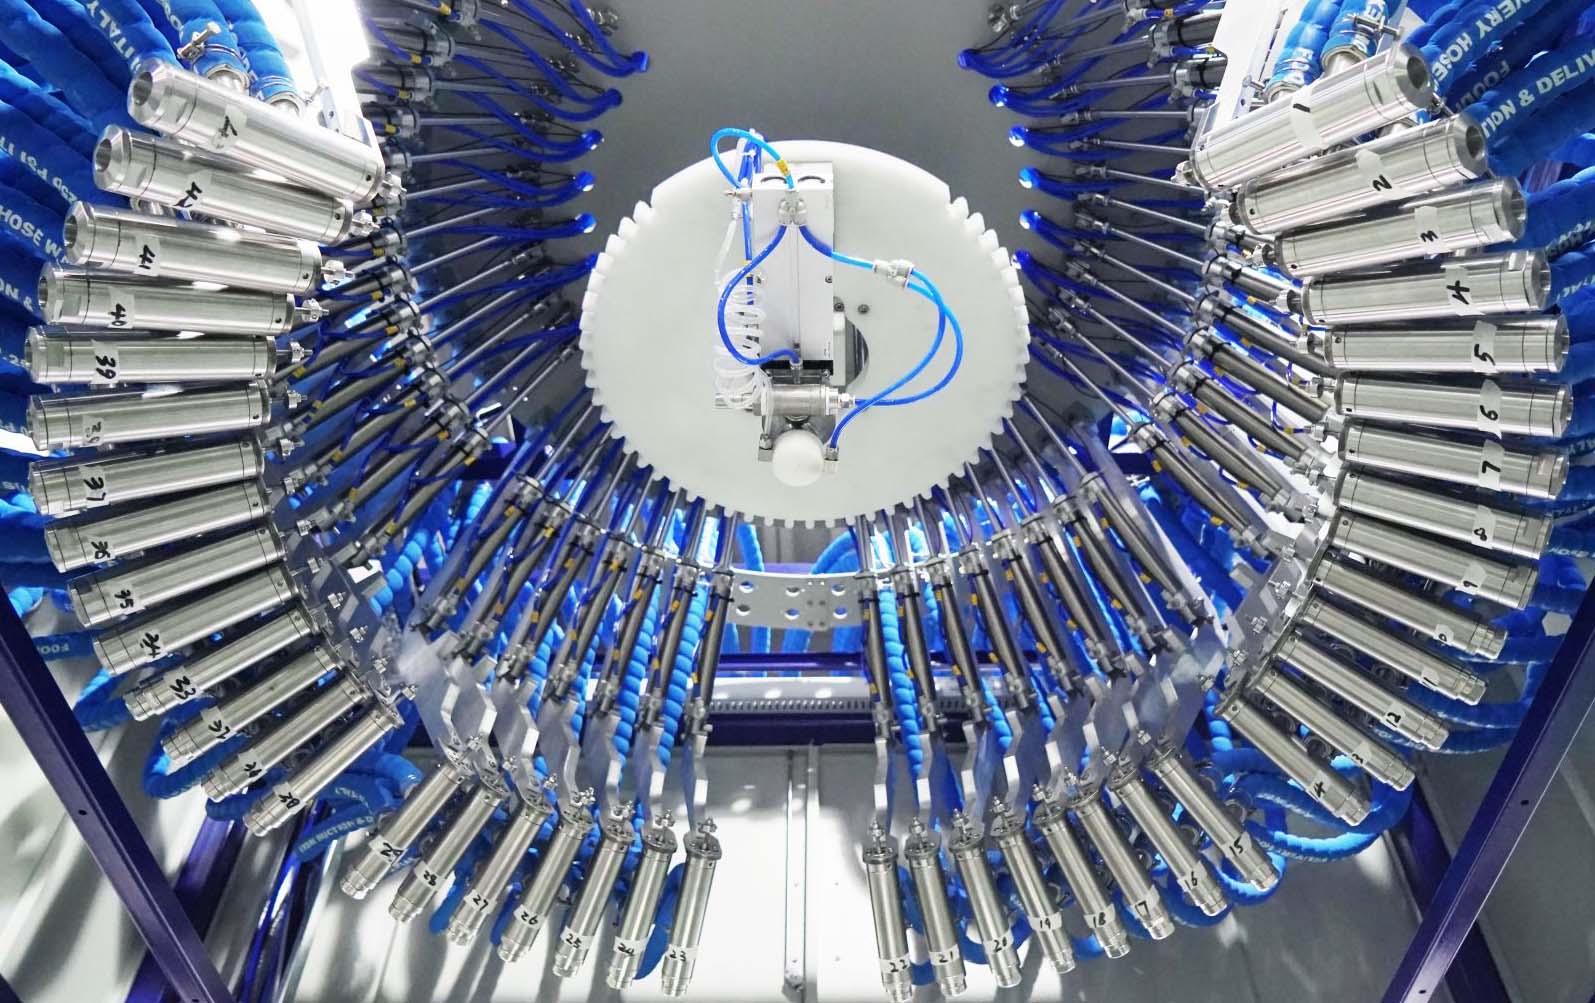
3.List Critical Components by Brand/Model:
Write key brands for parts like the servo motor (for precision), ceramic piston pumps (for longevity), and pneumatic elements into the agreement. This guarantees quality and simplifies future maintenance.
4.Secure Your Long-Term Rights with a Delivery List:
Insist on a detailed list beyond the main machine:
Special Tools & Spare Parts Kit: Include brushes for cleaning texture coating lines, specific wrenches, and a starter set of seals and gaskets.
Complete Documentation: Require electrical/pneumatic diagrams, PLC manuals, and structured operation guides in your language.
Software Rights: Confirm permanent software licensing and any included updates.
Step 1 Takeaway: A legally binding Technical Agreement that locks in your process needs and protects your investment in this chemical liquid filling machine.
Goal: Align both teams (technical, production, procurement) on project goals, timelines, and responsibilities from day one.
Your Action Plan:
Include your production manager and maintenance staff—they know the daily pain points.
Appoint single points of contact on both sides to prevent communication chaos.
Confirm the schedule for receiving the site preparation guide from your liquid filling machine supplier.
Common Mistake: Just clearing a space the size of the machine.
Your Action Plan:
1.Floor Loading & Foundation:
Verify your floor can handle the weight of a loaded pail filling equipment. Pour a reinforced concrete foundation if needed.
1.Compressed Air – The Lifeline:
Your industrial filling machine relies on clean, dry air. Ensure:
Stable pressure (e.g., 0.6 – 0.8 MPa).
Adequate flow volume.
Properly filtered air using oil-water separators. Moist air can ruin valves and contaminate product.
2.Power & Environment:
Ensure stable voltage. An Uninterruptible Power Supply (UPS) is recommended to prevent mid-fill stoppages.
In solvent-based areas, confirm motors and control panels meet required explosion-proof ratings.
Refine Utility Specs:
Demand specific air quality metrics from your supplier: Dew Point (e.g., -20°C), Oil Content (e.g., <0.01 ppm), Particulate Size. Use these as your acceptance standards.
Core Value: Verify the supplier’s capabilities and identify potential flaws before the machine leaves their factory.
Your Action Plan:
1.What to Look For During the Audit:
Material Proofs: Ask for certificates for key materials.
Layout & Design: Check if piping is designed for easy cleaning and maintenance. For texture coatings, are pipes wide with smooth bends?
Endurance Testing: Ensure the machine undergoes a minimum 48-hour continuous full-load test.
2.The FAT – Your “Dress Rehearsal”:
You MUST attend (in person or via video)!
Bring Your Own Materials: Test with your most challenging materials (e.g., high-viscosity pastes, sandy coatings), not just water.
Push the Limits: Conduct a color/material changeover test. Time it and measure solvent use—this directly impacts your future efficiency.
Sign Off Line-by-Line: Test and initial every performance metric against the Technical Agreement.
Your FAT Checklist (Paint Industry Edition):
1.Mechanical Check:
Is the frame solid and shake-free?
Are all wetted surfaces smooth and easy to clean?
For texture coatings, are pipe diameters ≥50mm with gentle bends?
2.Electrical & Safety Check:
Is the control panel wiring neat and labeled?
Are motors/panels clearly marked for explosive atmospheres (if needed)?
3.Performance Test:
Does it handle your highest viscosity material at the required speed?
Does the emergency stop function correctly?
Does the weighing system return to zero reliably?
4.Software Check:
Can you easily save and recall 100+ product recipes?
Are there user permissions to prevent unauthorized parameter changes?
Core Value: Prevent costly damage during the final leg of the journey.
Your Action Plan:
Demand Export-Grade Crating: The machine must be securely fixed inside a sturdy wooden crate with cushioning materials.
Inspect Upon Delivery: Unbox with the logistics driver present. Check for external damage, dents, and scratches. Verify all parts are included. Photograph any issues and get the driver’s signed confirmation.
Purchase Insurance: Insure high-value shipments to transfer the risk.
Core Action: Check all wetted parts (hopper, valves, pipes) for internal contamination or burrs that could affect your product.
Core Action: Your team must shadow the installation engineer. Document optimal settings (fill speed, pump times) for different materials to create your own Standard Operating Procedures.
This is the most critical, non-negotiable step.
Real-World Conditions: Run the machine on your production line for at least one full 8-hour shift using your staff, your materials, and your pails.
Data-Driven Validation: Randomly sample at least 100 filled pails. Weigh each one and calculate the Process Capability Index (Cpk), don’t just check the average. Cpk ≥ 1.33 is the industry benchmark.
Stability Check: Monitor for accuracy drift, unusual noise, or leaks during the extended run.
Quantify Value & Calculate ROI:
Use the SAT to establish a baseline for future cost savings:
1.Overall Equipment Effectiveness (OEE): Track output, planned and unplanned downtime. World-class OEE exceeds 85%.
2.Material Waste Rate: Calculate (Total Material Used – Total Filled Weight). A top-tier chemical filling machine keeps waste below 0.3%.
3.ROI Estimate:
Savings: (Old machine waste per pail – New machine waste per pail) x Annual Output x Material Cost = Annual Material Savings.
Efficiency Gain: (New Shifts Output – Old Shifts Output) x Annual Shifts x Product Profit = Annual Profit Increase.
Compare the total annual savings/gains to the machine’s cost to see your payback period.
Core Action: Only sign the Final Acceptance Report and release the final payment after the SAT is fully passed. Finalize a long-term service agreement that includes scheduled maintenance, a spare parts list, and guaranteed response times.
Integrating a superior pail filling machine means:
Precision Cost Control: Slashing per-container waste, directly boosting your profits.
Stable, Efficient Production: Eliminating constant clogs and cleaning, enabling smooth, continuous operation.
Stronger Brand Reputation: Guaranteeing every customer receives the exact net weight they pay for.
This guide is more than a checklist; it’s our professional commitment as a specialist in pail filling equipment. We believe your success defines our value.
Ready to plan your new filling line with confidence?
Contact us today to receive our specialized “Paint & Ink Industry Filling Machine Needs Assessment Checklist” and ensure your project starts on the right track.