Introduction: Why Your Filling Machine Deserves More Than Just Operation
In the competitive world of paint and coating manufacturing, efficiency is the engine of profitability. At the heart of your packaging line sits a critical piece of equipment: your liquid filling machine. Whether you operate a semi-automatic filler machine or a fully integrated automatic filling machine line, its performance directly dictates your output, product quality, and operational costs.
Many facilities fall into the trap of treating their filling equipment as a simple tool—they use it until it breaks. This reactive approach leads to unplanned downtime, costly emergency repairs, inconsistent fill levels, and product waste. The transition to automated filling is a significant investment, and protecting that investment requires a proactive, strategic approach.
This comprehensive guide moves beyond basic instructions. It provides a detailed framework for paint manufacturers to build a robust culture of maintenance. We will explore systematic daily care, master the art of cleaning for different paint types, and develop a sharp eye for troubleshooting common issues. By the end, you will have the knowledge to transform your liquid filler from a potential bottleneck into a model of reliability and precision, ensuring your liquid filling solutions drive your business forward.
Section 1: The Proactive Approach – Building a Systematic Maintenance Regimen
Preventive maintenance is the cornerstone of maximizing the lifespan and performance of any industrial equipment. For a paste filling machine handling thick sealants or a high-speed liquid filling machine for stains, a structured plan is non-negotiable.
1.1 The Philosophy of Preventive Maintenance
The goal is simple: prevent small issues from becoming catastrophic failures. A well-maintained auto filling machine operates with consistent accuracy, uses less energy, and places less stress on its components. This systematic care involves scheduled inspections, lubrication, and parts replacement based on time or usage, not on evident failure.
1.2 The Daily Checklist: A 10-Minute Investment for Long-Term Health
Operators should start each shift with a quick but thorough inspection. This process takes minutes but can identify issues before they halt production.
Visual and Auditory Inspection: Before starting, walk around the machine. Look for signs of fluid leaks, loose electrical connections, or worn hoses. Listen for unusual sounds like hissing from air leaks or grinding from motors.
Power and Pneumatics: Verify that the main air pressure is stable and matches the manufacturer’s specification (typically 0.5-0.8 MPa). Check the air filter-regulator-lubricator (FRL) unit; drain any accumulated moisture and ensure the lubricator has adequate oil.
Safety Systems Test: Perform a functional test of the emergency stop buttons and any safety interlocks on guards or doors. This is not just for machine health but for operator safety.
Cycle Run Without Product: Run the filler machine through a few cycles without product to confirm all movements are smooth and the control system is responsive.
1.3 The Weekly Deep Dive: Ensuring Mechanical Integrity
Once a week, a dedicated maintenance technician should perform a more detailed service. This focuses on components subject to wear and tear.
Comprehensive Cleaning: Clean the entire machine, including the frame, conveyor, and control panel. Accumulated dust and debris can interfere with sensors and cooling systems.
Lubrication of Moving Parts: Refer to the machine’s manual and lubricate all specified points. This includes linear guides, ball screws, bearing blocks, and cylinder rods. For machines filling paint, use food-grade or manufacturer-approved lubricants to prevent product contamination.
Mechanical Fastening: Use a calibrated torque wrench to check and tighten critical bolts on mounting plates, structural frames, and the filling head assembly. Vibration can loosen these over time.
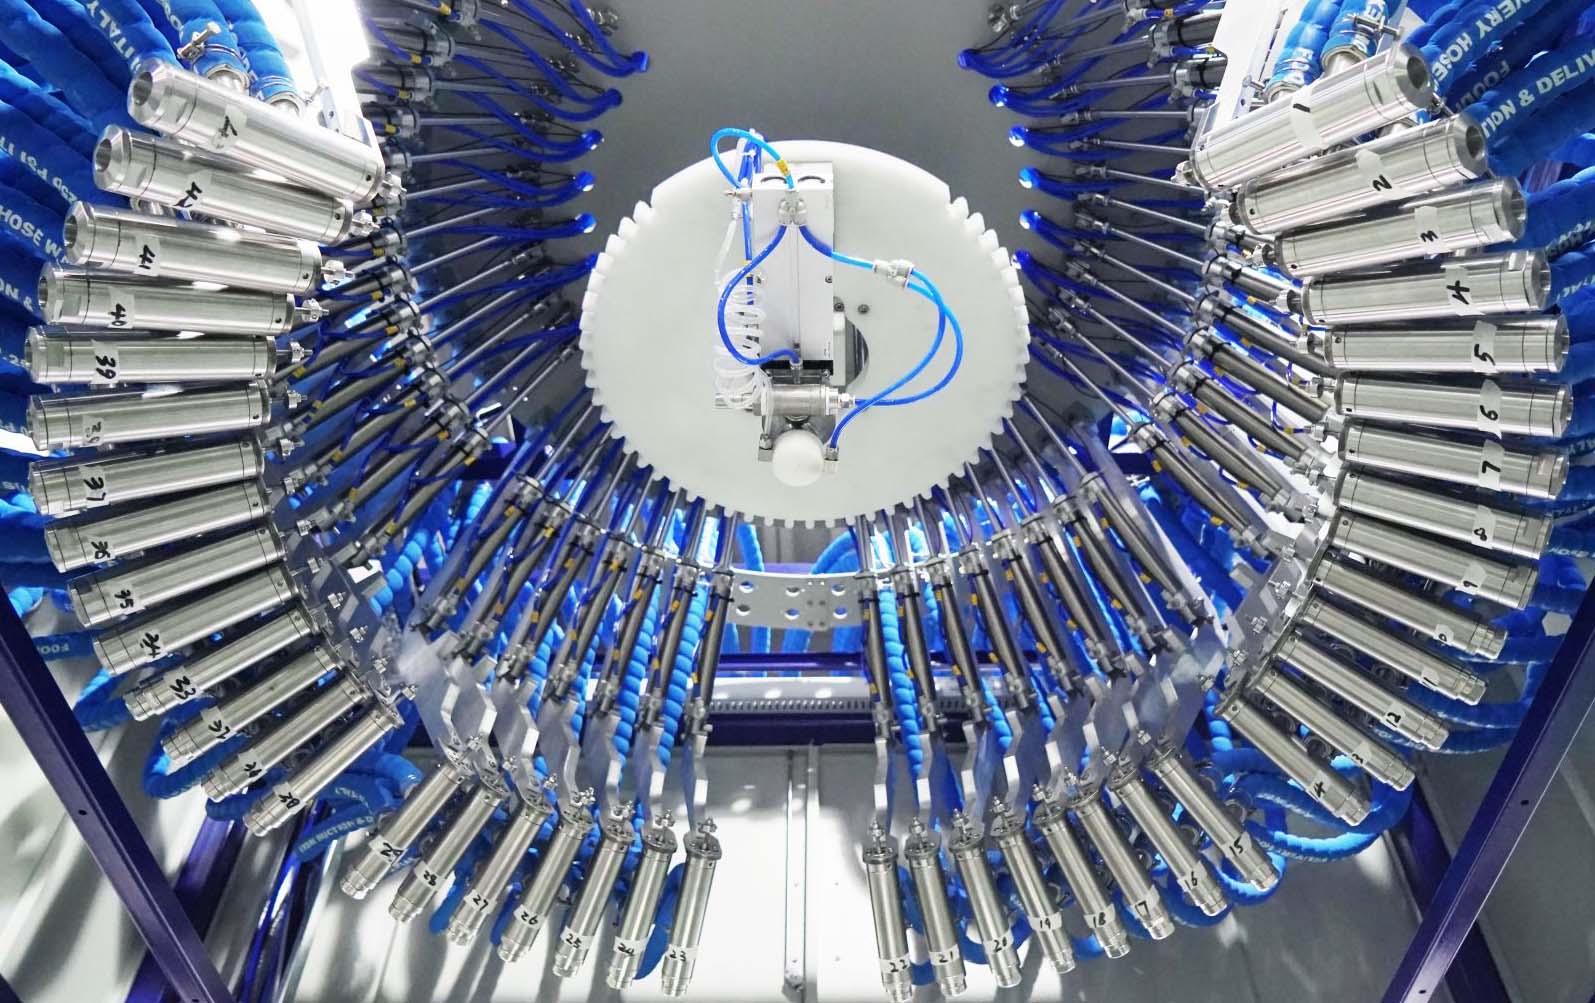
Seal and Nozzle Inspection: Visually inspect filling nozzles for wear or damage that could affect seal integrity. Check for signs of weeping around static seals.
1.4 The Monthly Performance Review: Calibration and Component Assessment
A monthly review ensures your automatic filling machine maintains its precision and identifies components nearing the end of their service life.
Accuracy Calibration: This is critical. Using a calibrated scale, perform a fill-weight analysis across all filling heads. Compare the results to the target weight and adjust the machine’s settings (e.g., piston stroke, timer, pump speed) as needed. Document these results to track performance over time.
In-Depth Seal and Wear-Part Assessment: For piston filler machines, inspect the piston seals and O-rings for signs of wear, cracking, or swelling. For pump-based systems, inspect the pump rotors or the tubing in a peristaltic pump.
Electrical and Control Check: Inspect electrical cabinets for dust. Check for loose terminals. Verify that sensors (proximity, photoelectric) are clean and properly aligned. Back up the PLC program and parameters.
1.5 The Annual Overhaul: Resetting the Clock
Once a year, plan for a full shutdown to conduct a comprehensive overhaul. This often involves collaboration with the original equipment manufacturer or a specialized technician. They will disassemble critical components, replace all wear-prone parts (seals, gaskets, filters), and perform a full alignment and calibration, effectively restoring the liquid filling machine to near-factory specification.
Section 2: Mastering the Critical Art of Cleaning and Changeover
In paint manufacturing, the cleanliness of your liquid filler is directly proportional to the quality of your final product. Effective cleaning prevents cross-contamination, eliminates color streaking, and ensures the mechanical components of your auto filling machine function correctly.
2.1 Understanding the Chemistry of Cleaning
The first rule is to know your product and your cleaner.
Water-Based Paints: Typically cleaned with warm water. However, some additives may require a mild detergent solution for complete removal.
Solvent-Based Paints and Lacquers: Require appropriate chemical solvents. Always consult the Safety Data Sheets (SDS) for both the paint and the solvent to ensure compatibility and safety.
UV-Cured and Specialty Coatings: Often need specialized, powerful solvents. The manufacturer of the coating can usually provide a recommended cleaning agent.
2.2 The End-of-Batch Clean: Standard Operating Procedure
This is the cleaning performed after finishing a production run of one product, before switching to another or shutting down.
Empty and Reclaim: First, pump or drain any remaining product from the hopper and supply lines back into a holding container if possible.
Solvent Flush: Introduce the chosen cleaning agent into the system. Circulate it through all wetted parts—the hopper, pumps, valves, and lines. Use a brush to scrub the hopper walls.
Purge and Repeat: Purge the dirty solvent and repeat the flush with a clean batch until the expelled liquid runs clear.
Final Rinse (if applicable): For solvent-based systems, a final rinse with a fast-evaporating solvent can help dry the system. For water-based, a final hot water rinse is effective.
Exterior Wipe-Down: Thoroughly wipe all exterior surfaces, with special attention to the filling nozzles and the area directly below them.
2.3 The High-Stakes Color or Product Changeover
This is the most demanding cleaning procedure, where the goal is zero cross-contamination.
Complete Disassembly: This is the gold standard. Dismantle all product-contact parts. This includes filling nozzles, valves, piston assemblies, hoses, and any pipe fittings.
Manual Scrubbing and Soaking: Soak the disassembled parts in a dedicated cleaning bath. Use non-abrasive brushes and tools to manually remove every trace of the previous product manually, paying close attention to crevices and threads.
System Flushing with Disassembly: For complex automated filling systems where full disassembly is impractical, a rigorous flushing procedure is used. This often involves using a “pig” or a series of compatible solvents to scour the interior of the lines.
Inspection and Drying: Visually inspect every cleaned part under good light. Ensure they are completely dry before reassembly to prevent water or solvent from contaminating the new product.
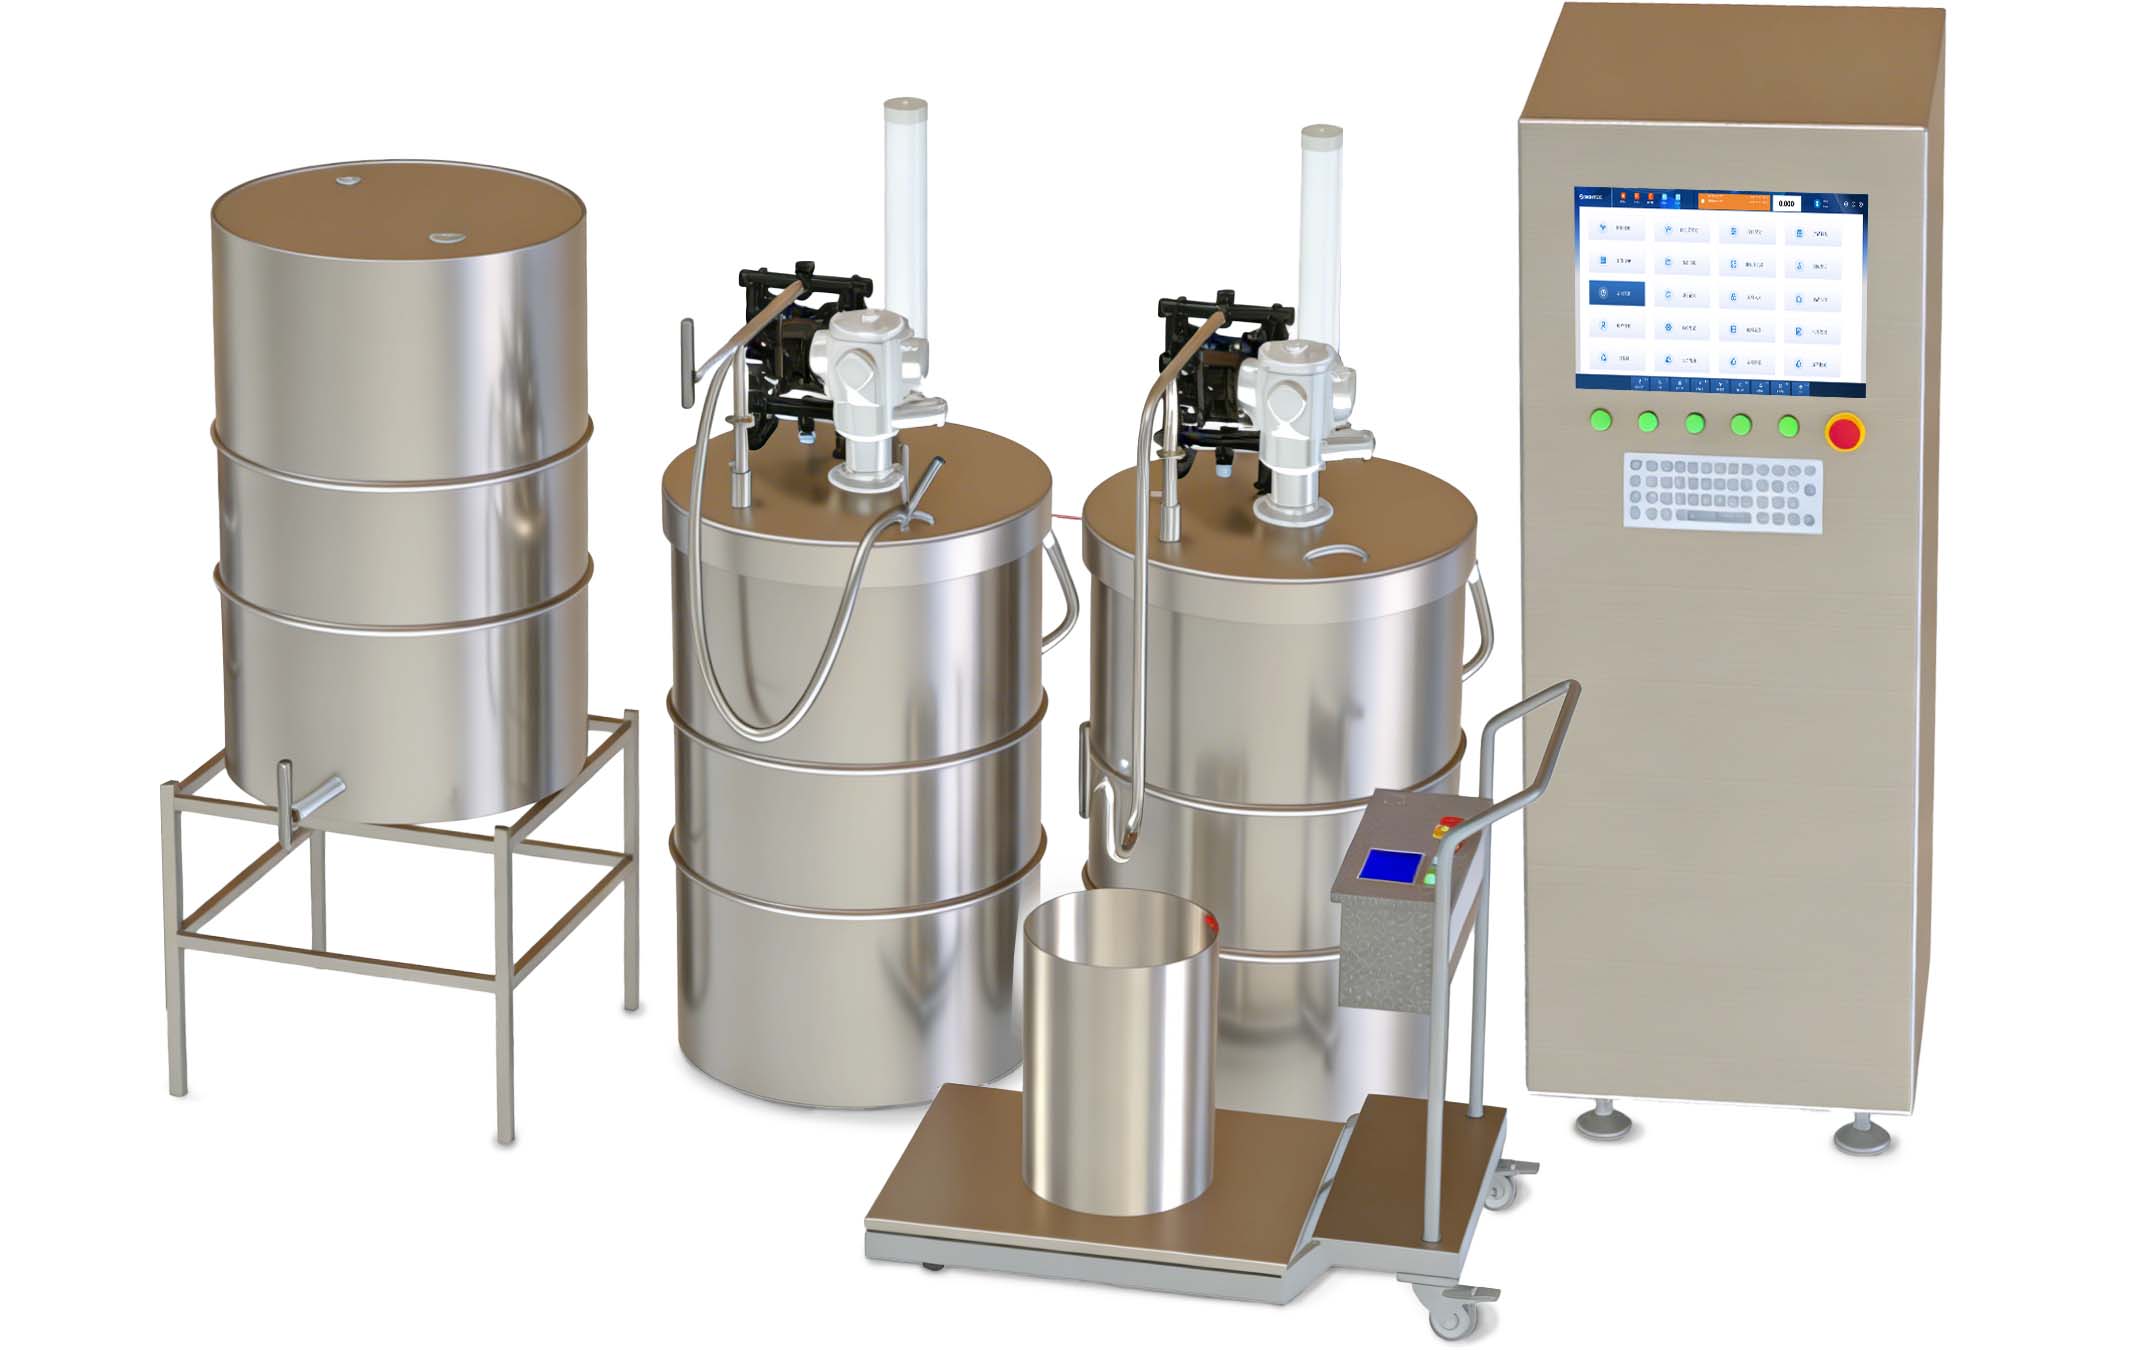
2.4 Advanced Cleaning Solutions: CIP Systems
For large-scale operations, a Clean-in-Place (CIP) system can be integrated into the liquid filling machine. CIP systems automate the cleaning process by pumping cleaning solutions and rinses through the machine at controlled velocities and temperatures, without requiring major disassembly. This significantly reduces changeover time and labor while improving repeatability and safety.
Section 3: The Practical Troubleshooter’s Guide: From Symptom to Solution
Even with perfect maintenance, issues will arise. A systematic approach to troubleshooting minimizes downtime. Here is an expanded look at common problems.
3.1 Problem: Inconsistent Fill Volume
This is one of the most common complaints and can have multiple root causes.
Symptom: All fills are consistently over- or under-volume.
Cause: Incorrect calibration or parameter setting in the control system.
Solution: Re-calibrate the filler machine. For a time-based fill, adjust the timer. For a piston paste filling machine, adjust the stroke length. For a pump-based system, check the pump speed or number of revolutions.
Symptom: Fill volume is erratic and varies from container to container.
Cause 1: Product Viscosity Changes. Temperature fluctuations can cause paint viscosity to change, directly affecting flow rate.
Solution: Implement a pre-conditioning process for the raw material to bring it to a consistent temperature. Use a mixer in the supply hopper to maintain homogeneity.
Cause 2: Air Entrapment or Bubbles. Air in the product is compressed during filling, leading to short shots.
Solution: Ensure the supply tank is properly vented. Install a de-aeration system or let the material settle before filling. Adjust the filling speed to be less turbulent.
Cause 3: Worn Components. In a piston filler, worn piston seals can allow product to slip past, reducing the effective volume dispensed. In a pump filler, a worn pump head will lose its prime and accuracy.
Solution: Inspect and replace worn seals, tubing, or pump components as part of your preventive maintenance schedule.
3.2 Problem: Nozzle Dripping and Stringing
This creates mess, waste, and can jam the conveyor system.
Symptom: Liquid drips from the nozzle after the fill cycle is complete.
Cause 1: Worn or Damaged Nozzle Seal. The seal that makes contact with the container rim is degraded.
Solution: Replace the nozzle seal or the entire nozzle tip.
Cause 2: Clogged or Sticky Valve. A small piece of dried paint or skin is preventing the valve from closing fully.
Solution: Disassemble and clean the fill valve mechanism thoroughly.
Cause 3: Faulty Anti-Drip (Suck-Back) Setting. Many liquid filling machines have an “anti-drip” or “suck-back” feature that uses a small vacuum to pull the product stream back at the end of the cycle.
Solution: Adjust the suck-back setting. Too little causes dripping; too much can draw air into the nozzle.
Symptom: Stringing or Webbing of product (common with high-viscosity paints and sealants).
Cause: The product is too viscous and cohesive, stretching between the nozzle and the container as it lifts.
Solution:
Use a specialized nozzle for high-viscosity products, often with a sharp cut-off edge or a non-stick coating.
Slightly increase the speed of the nozzle retraction.
Optimize the suck-back function for thicker materials.
Consider heating the material or the hopper to reduce viscosity slightly.
3.3 Problem: Machine Will Not Start or Cycle
A complete failure to operate points to a fundamental system issue.
Symptom: The control panel is dead; no lights or display.
Cause: Loss of main power.
Solution: Check the main circuit breaker, the machine’s main disconnect switch, and ensure the power cord is securely plugged in.
Symptom: The panel has power, but the machine will not start.
Cause 1: Emergency Stop Engaged. This is the most common reason.
Solution: Locate all emergency stop buttons and ensure they are pulled out and in the reset position.
Cause 2: Safety Interlock Fault. A safety guard door is open, or a proximity sensor is misaligned or failed.
Solution: Walk around the machine and ensure all guards are properly closed. Check that interlocks are being engaged.
Cause 3: Low Air Pressure. Many machines have a pressure switch that prevents operation if air pressure is too low.
Solution: Check the air supply and adjust the regulator to the correct pressure.
3.4 Problem: Unusual Noises and Vibration
Your ears are powerful diagnostic tools. Unfamiliar sounds often signal mechanical distress.
Symptom: Grinding or Squealing from a Motor or Pump.
Cause: Lack of lubrication, bearing failure, or an obstruction in the pump.
Solution: Immediately stop the machine. Investigate the source of the noise. Check lubrication points. If a bearing is failing, it will need replacement.
Symptom: Chattering or Knocking from the Filling Head.
Cause: Loose components, misalignment, or a cylinder that is trying to move against an obstruction.
Solution: Tighten all bolts on the filling head assembly. Check for alignment between the nozzle and the container. Ensure the lifting mechanism is moving freely.
Section 4: Cultivating a Culture of Reliability: Beyond the Manual
Technical knowledge is vital, but sustaining peak performance requires a cultural shift within your organization.
4.1 Documentation: The Living History of Your Machine
Maintain a detailed logbook for every filling machine in your facility. This log should record every maintenance action, every repair, every parts replacement, and even minor glitches. This history becomes an invaluable tool for diagnosing recurring issues and predicting future failures.
4.2 Strategic Spare Parts Management
Downtime waiting for a $5 seal is unacceptable. Develop a strategic inventory of critical spare parts. Base this inventory on the machine’s manual recommendations and your own historical failure data. Essential spares often include:
Nozzle seals and O-rings
Filling nozzles/tipping cups
Solenoid valves
Sensors (proximity, photo-eye)
Fuses and relays
Critical pump components or entire backup pumps
4.3 Empowering Your Team Through Training
Your operators and technicians are your first line of defense. Invest in their continuous training. Ensure they understand not just how to operate the automatic filling machine, but why certain procedures are in place. Cross-train personnel so multiple people can perform essential maintenance and troubleshooting tasks.
Conclusion: The Path to Uninterrupted Production
Your liquid filling solutions are more than just machinery; they are the final gatekeepers of your product quality and brand reputation. By embracing the proactive, systematic approach outlined in this guide—committing to rigorous maintenance, mastering meticulous cleaning, and fostering a knowledgeable, responsive team—you transform your filling operations from a source of stress into a pillar of strength.
The goal is not simply to fix problems, but to prevent them entirely. This journey towards operational excellence ensures that your automated filling line delivers on its promise: maximum uptime, unwavering quality, and a superior return on your investment. Start implementing these practices today, and build a foundation of reliability that will support your growth for years to come.
Schedule a Free, No-Obligation Line Assessment Today!